A lot is said of the Winnebago eurovan and I want to address a few bits of it. There are a lot of things that I think Winnebago did well and lots which is not so good.
The gas (LPG) tank
Am
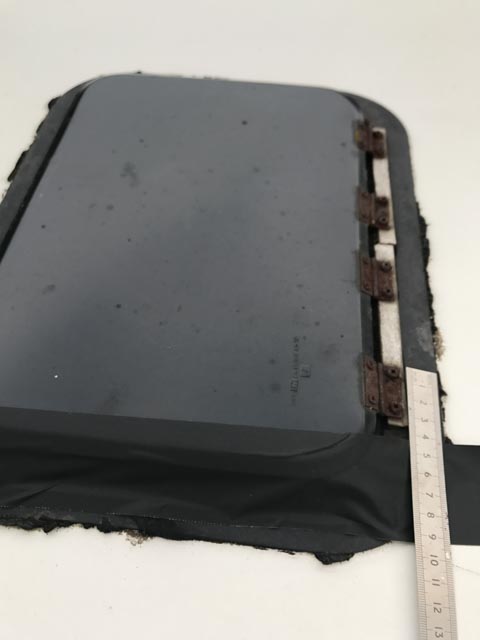
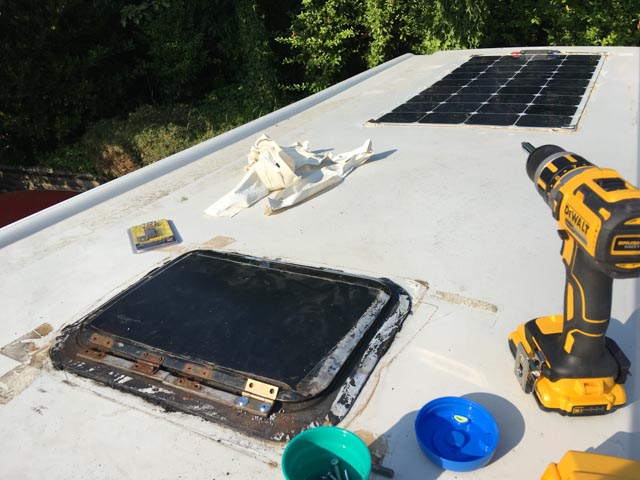
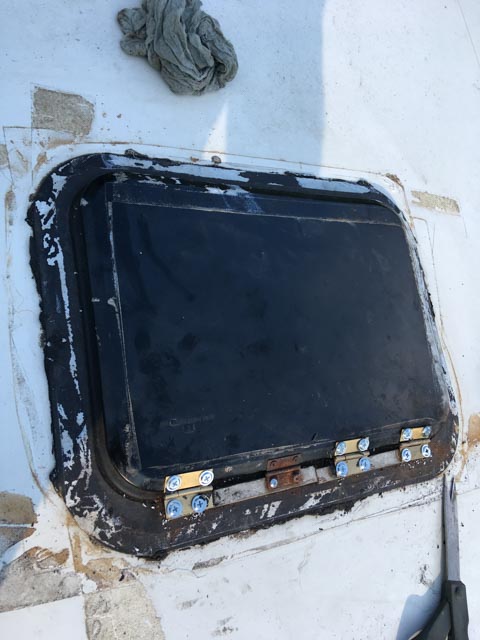
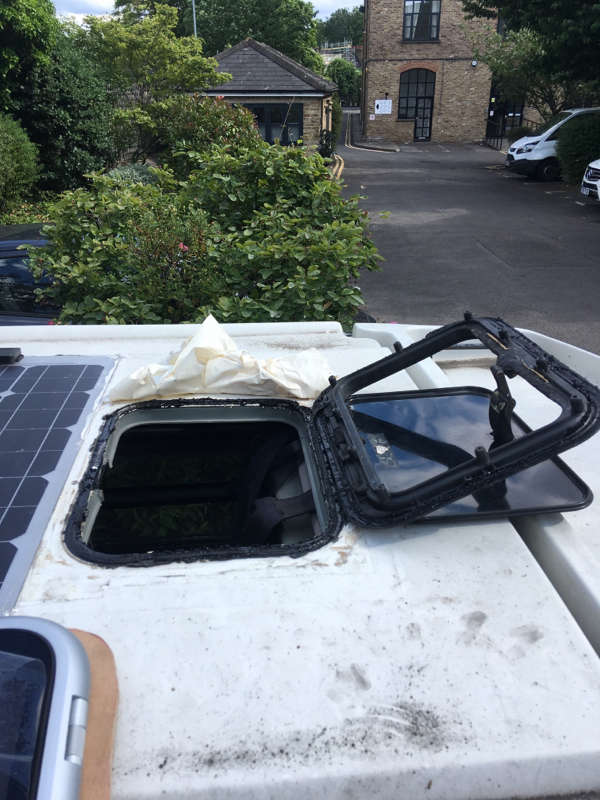
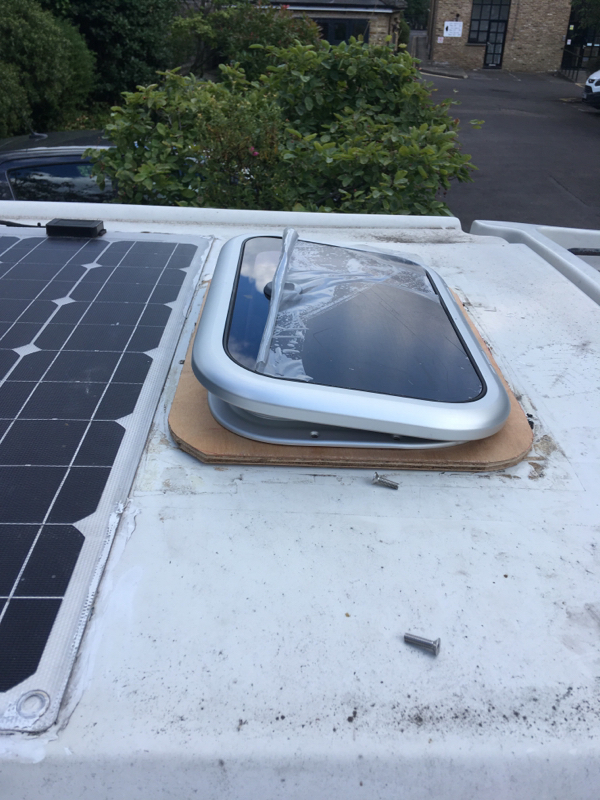
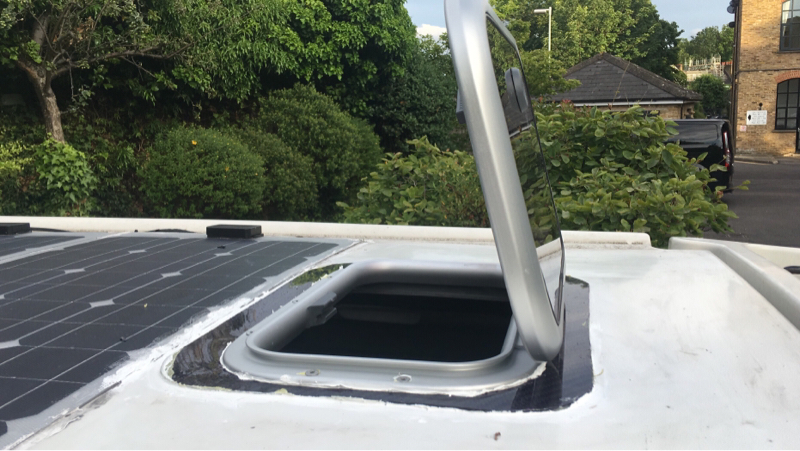
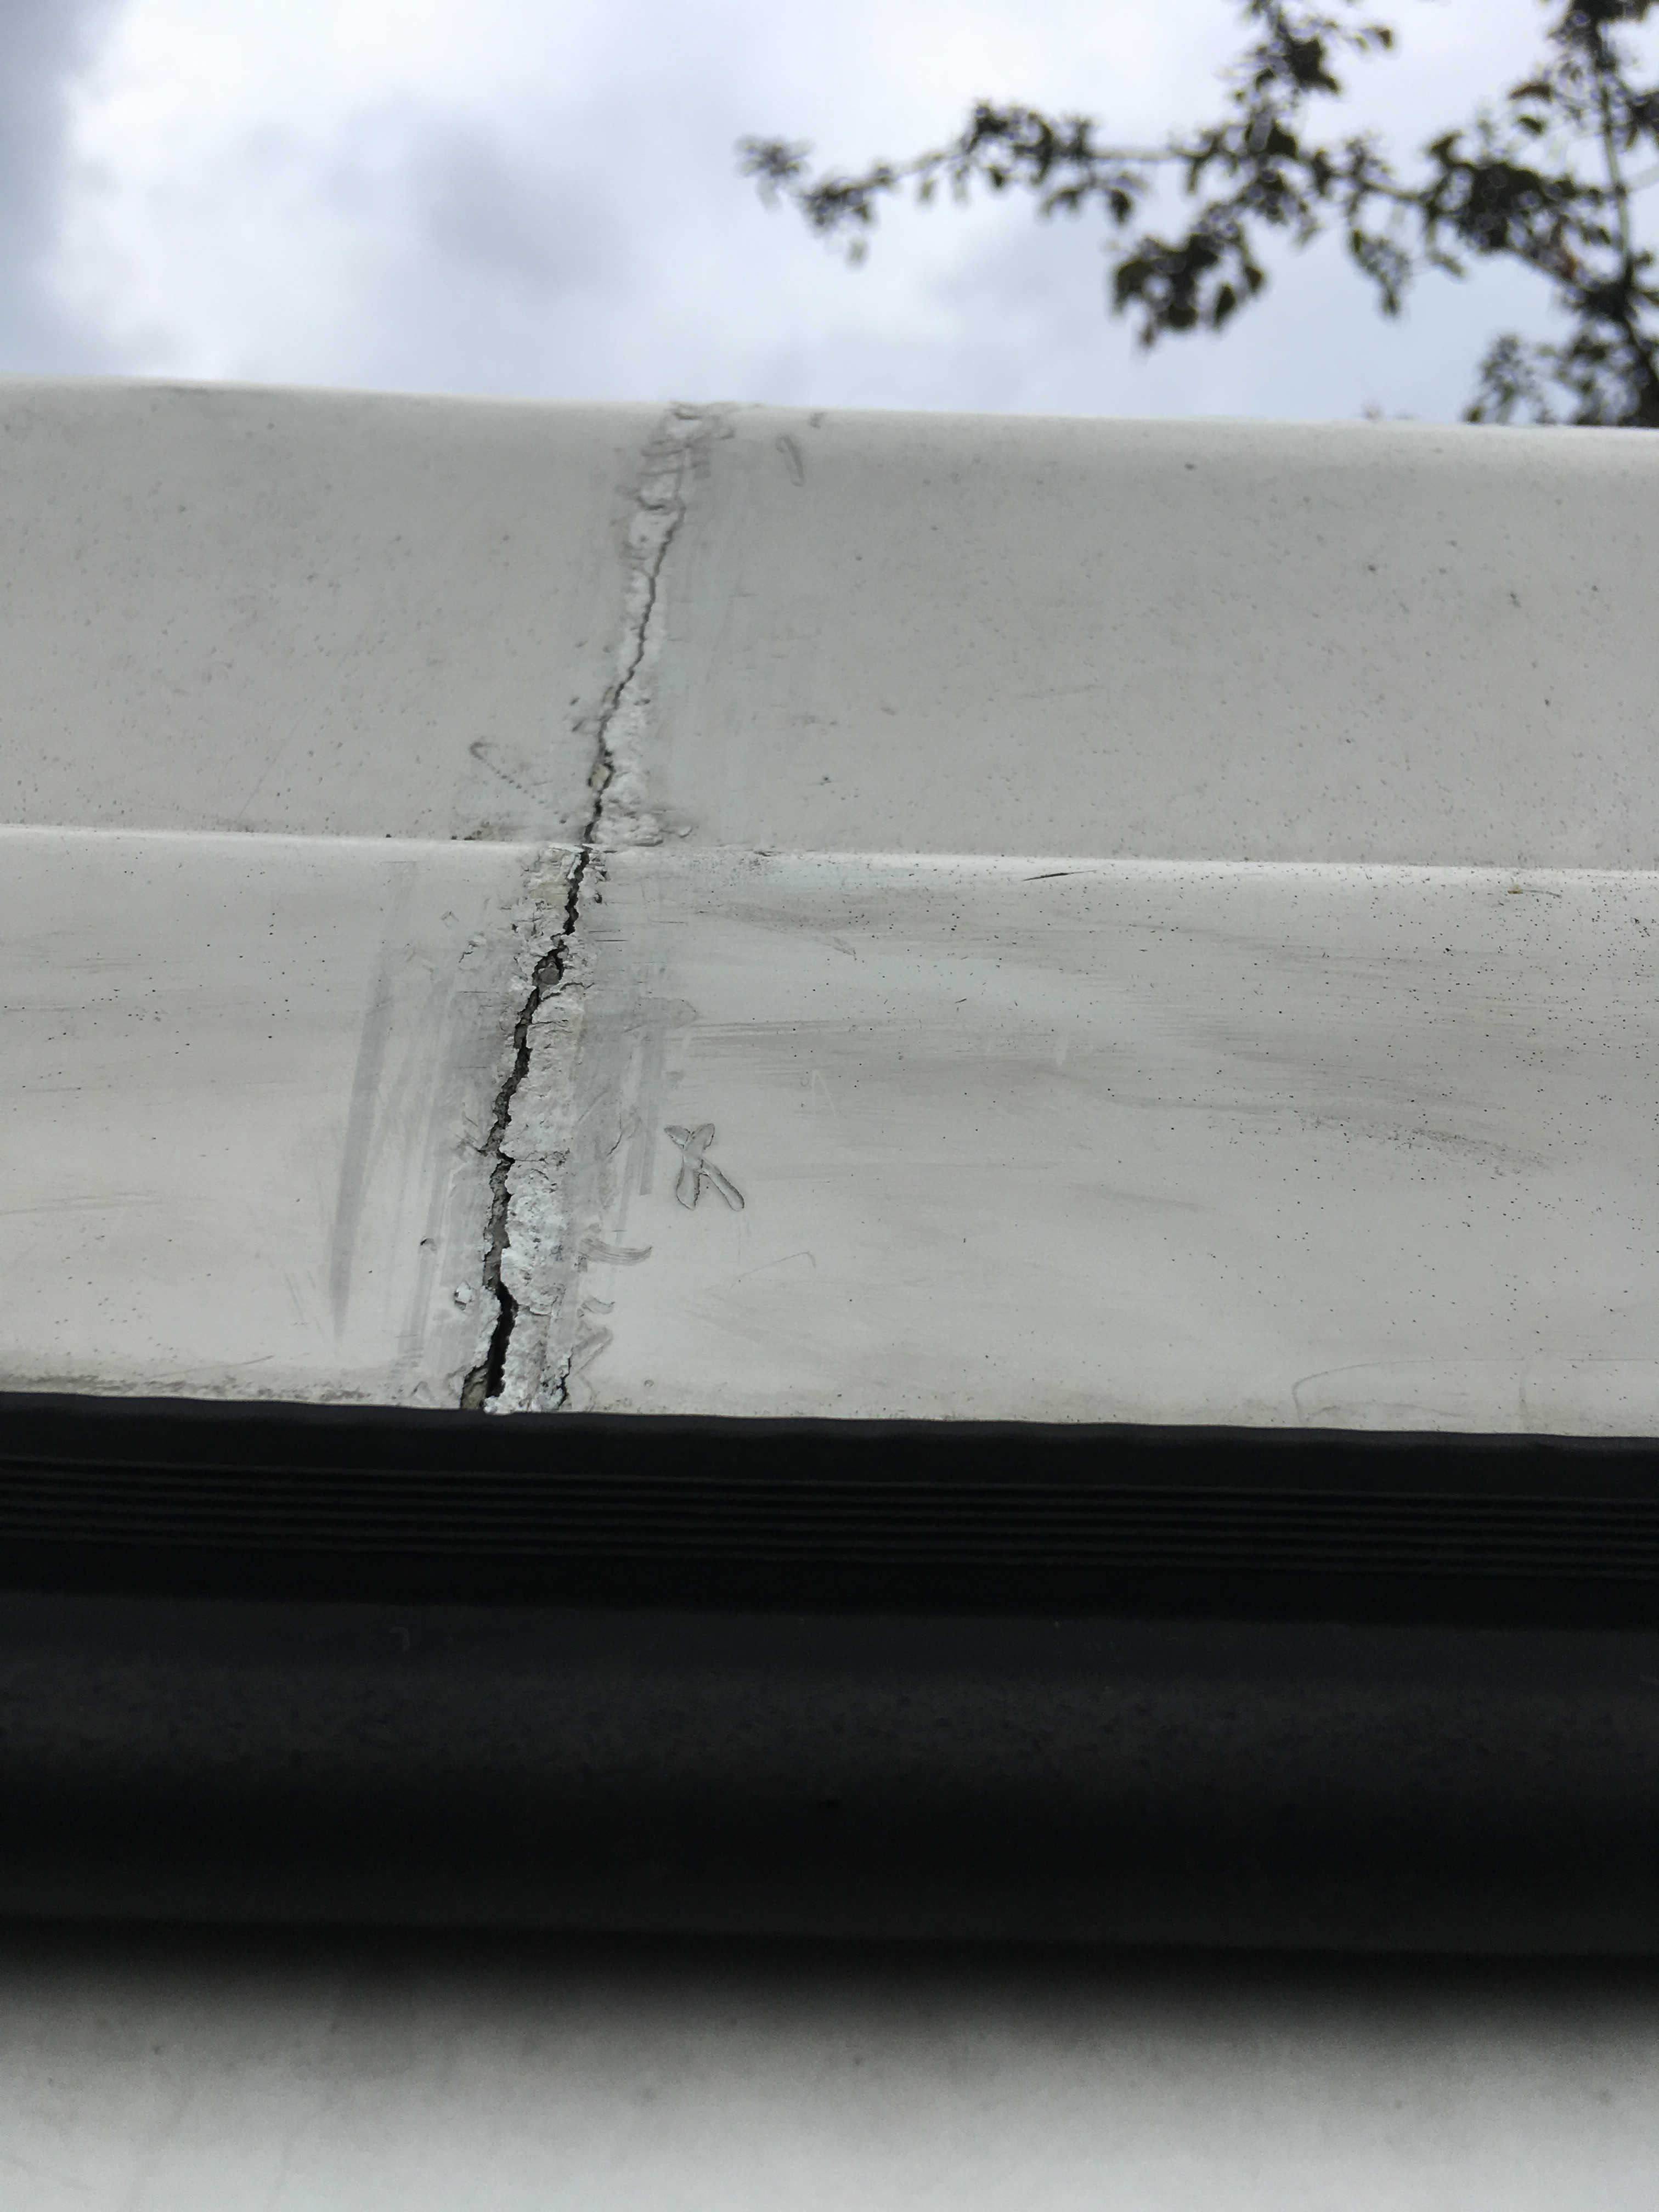
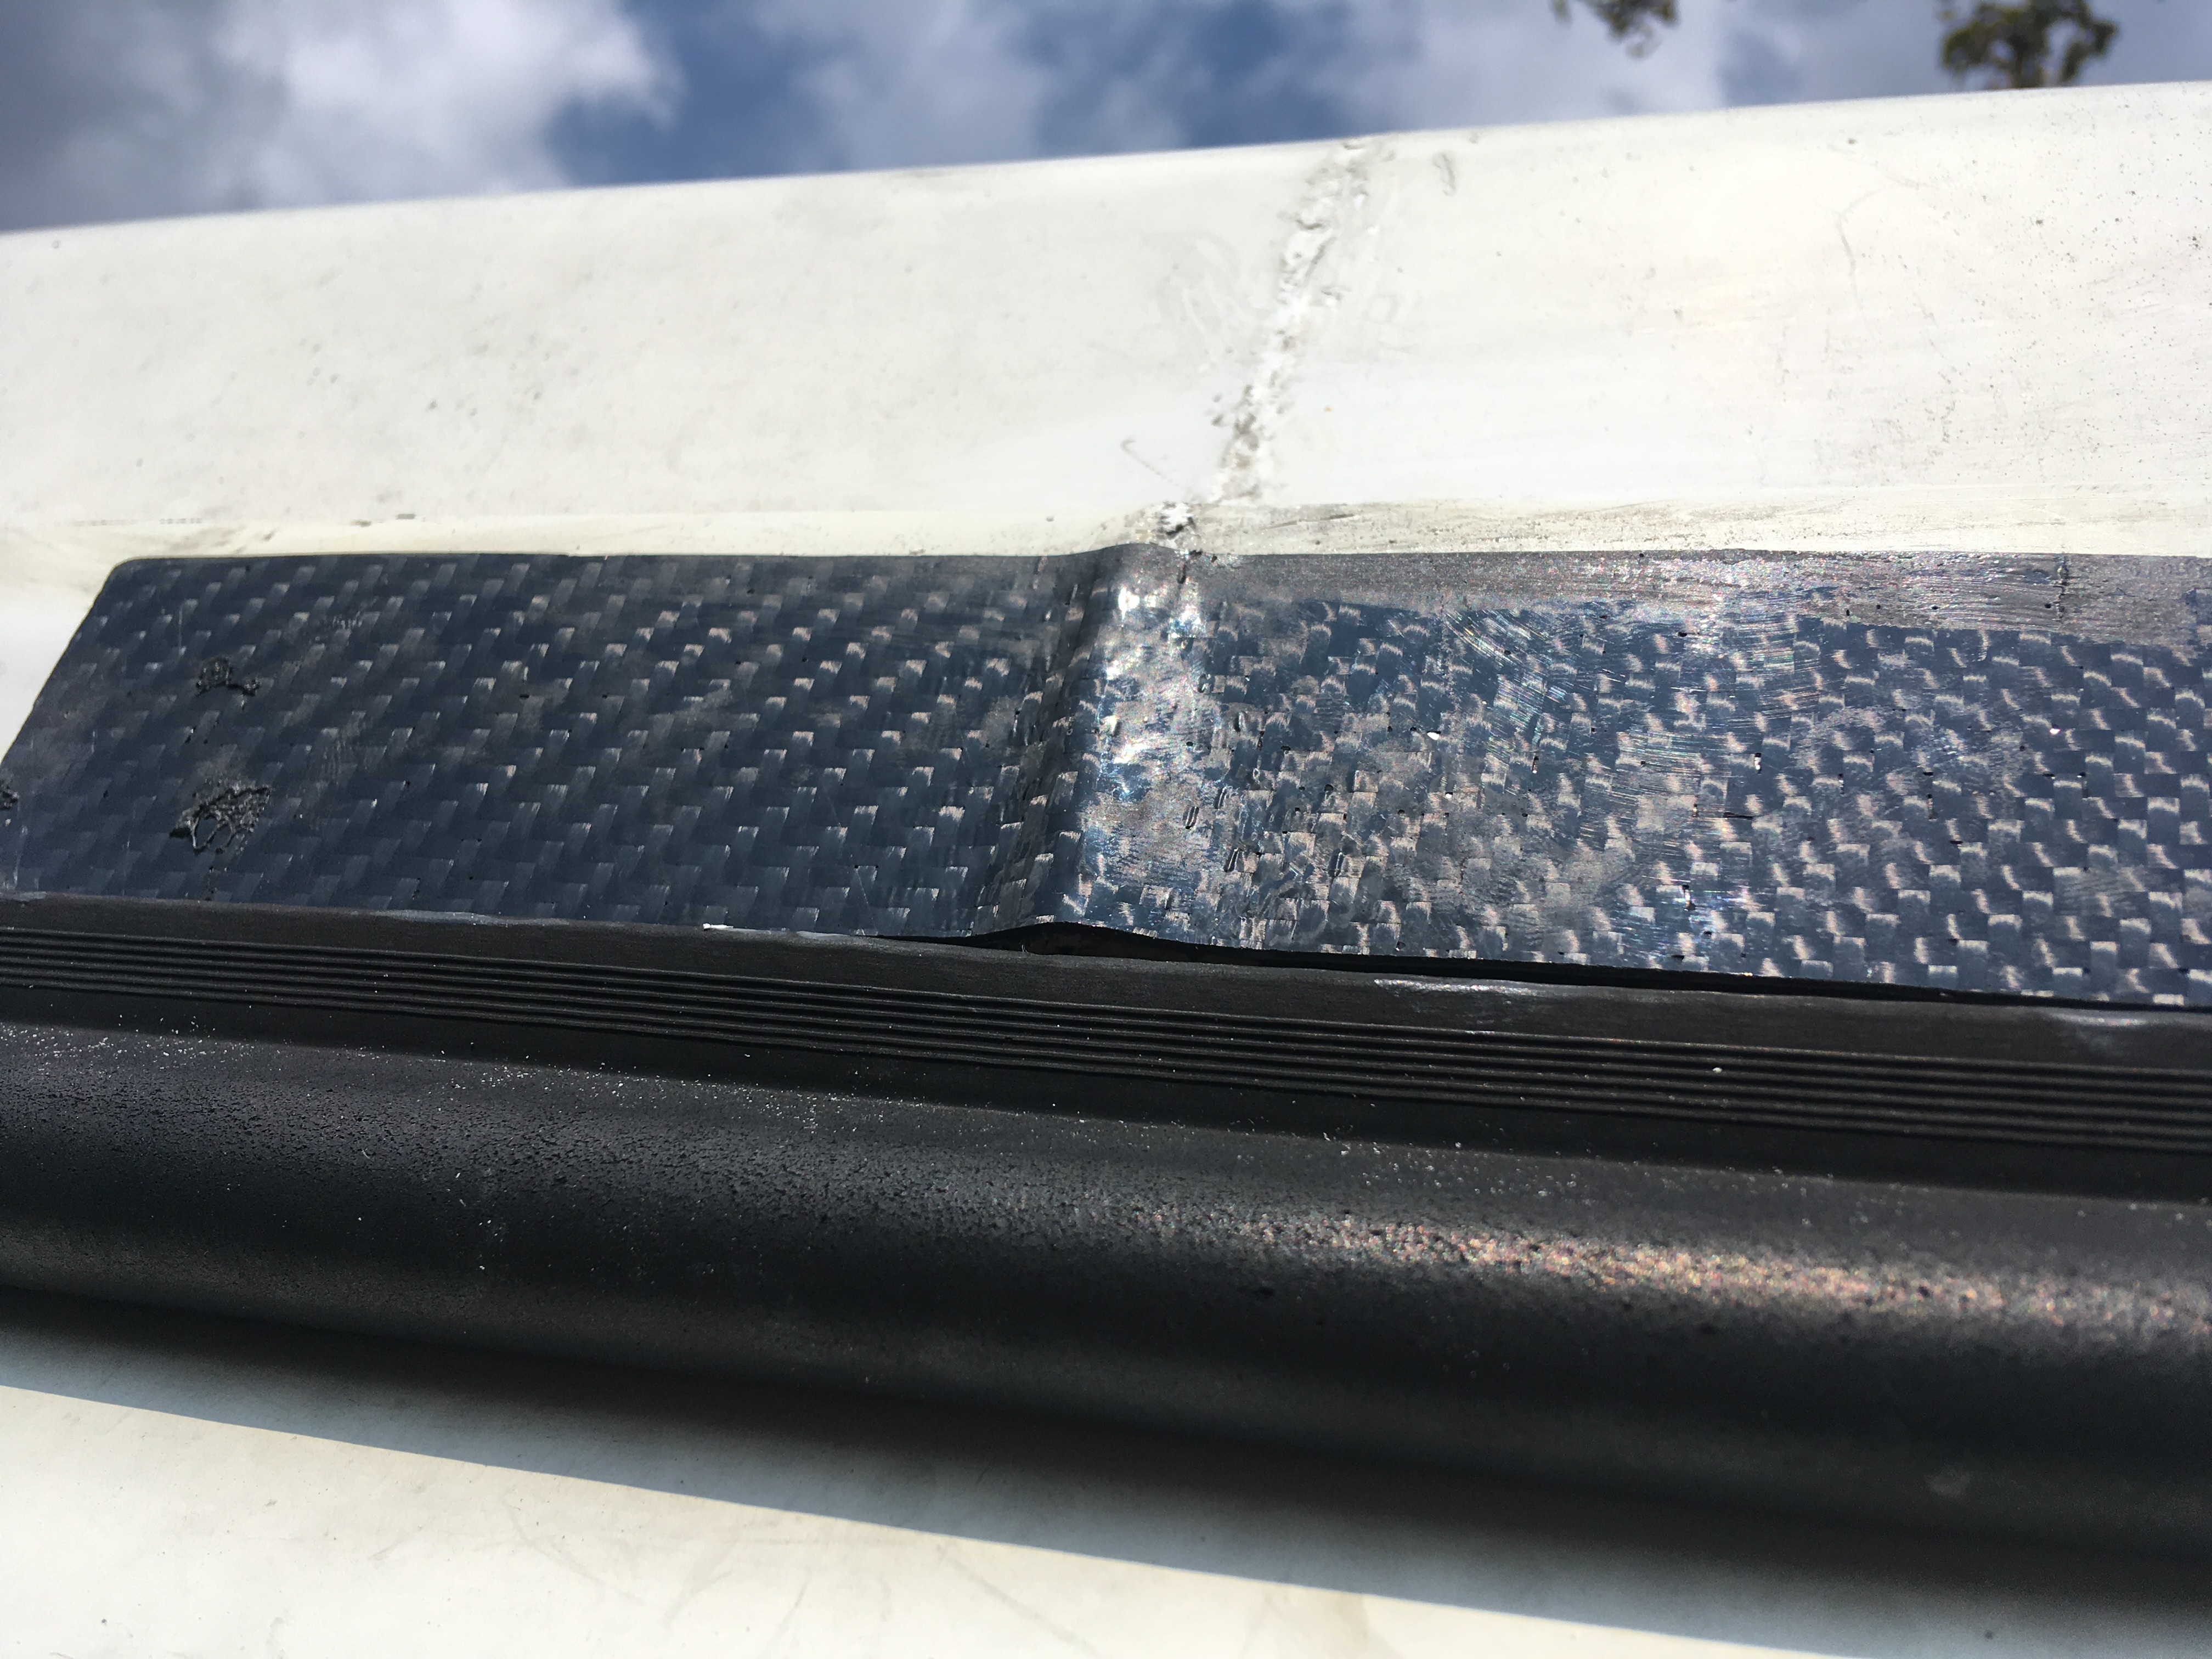
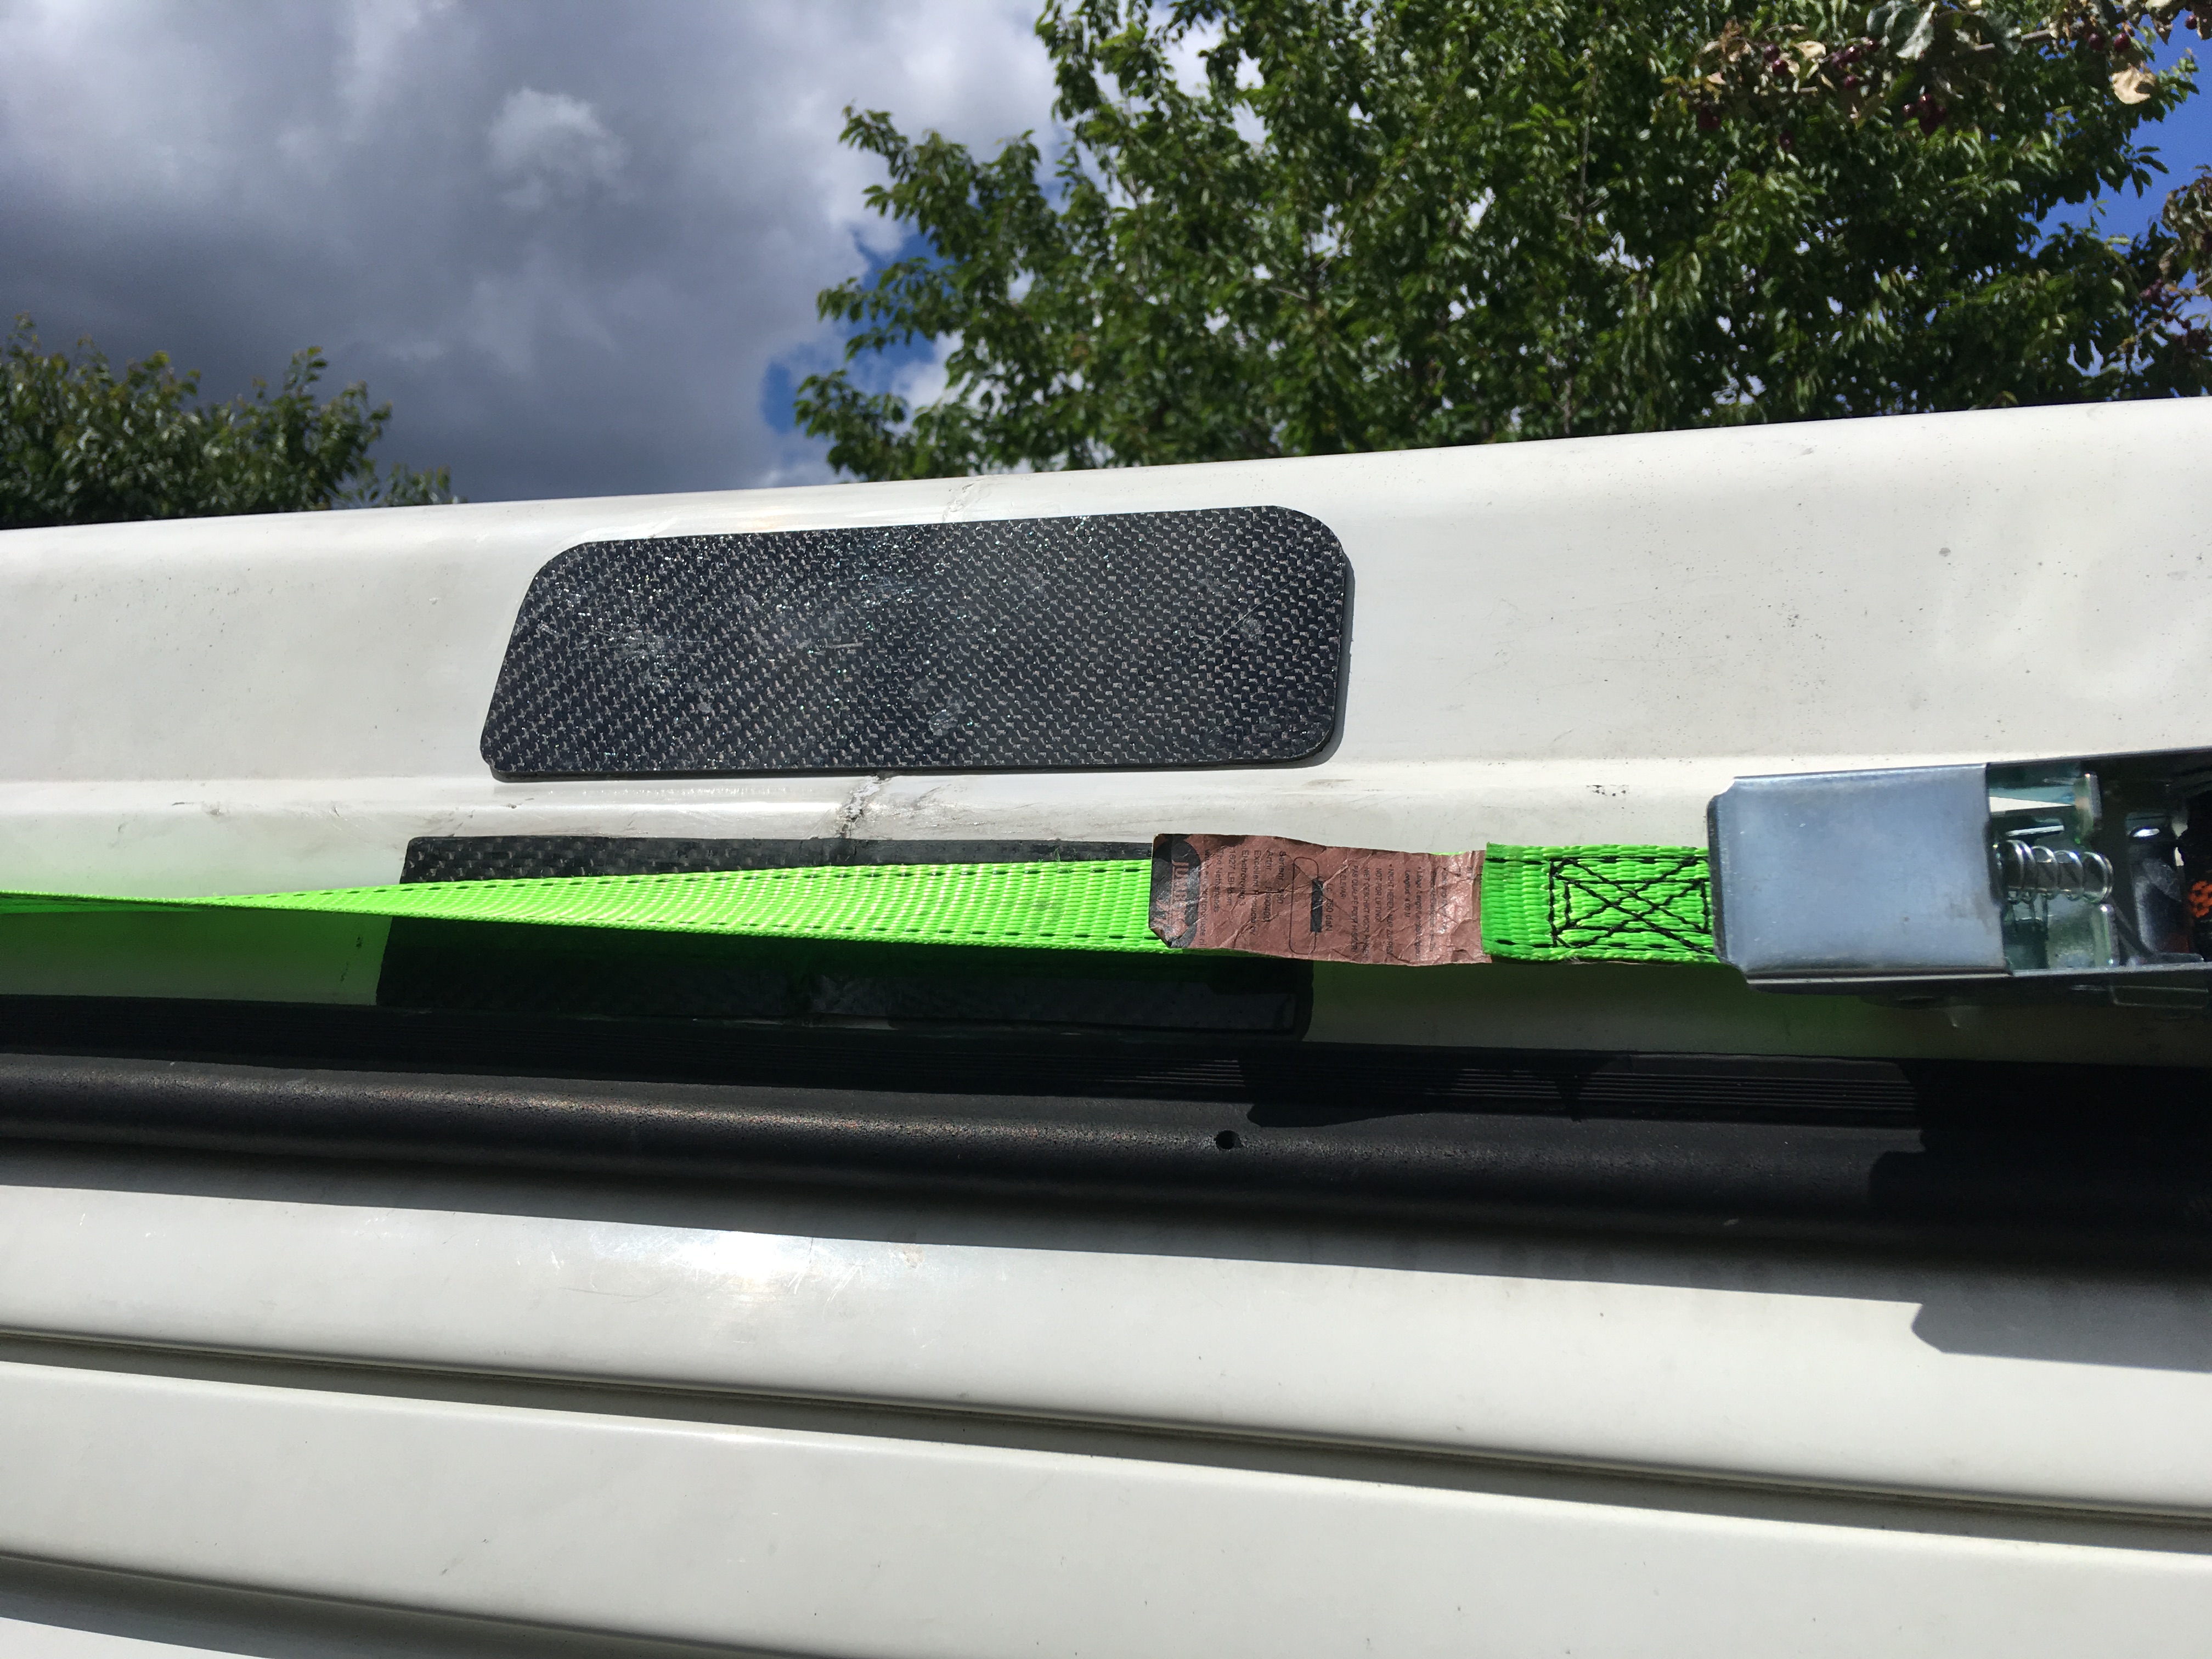
The roof
-Much hated there is lots wrong but there are also some really good points.
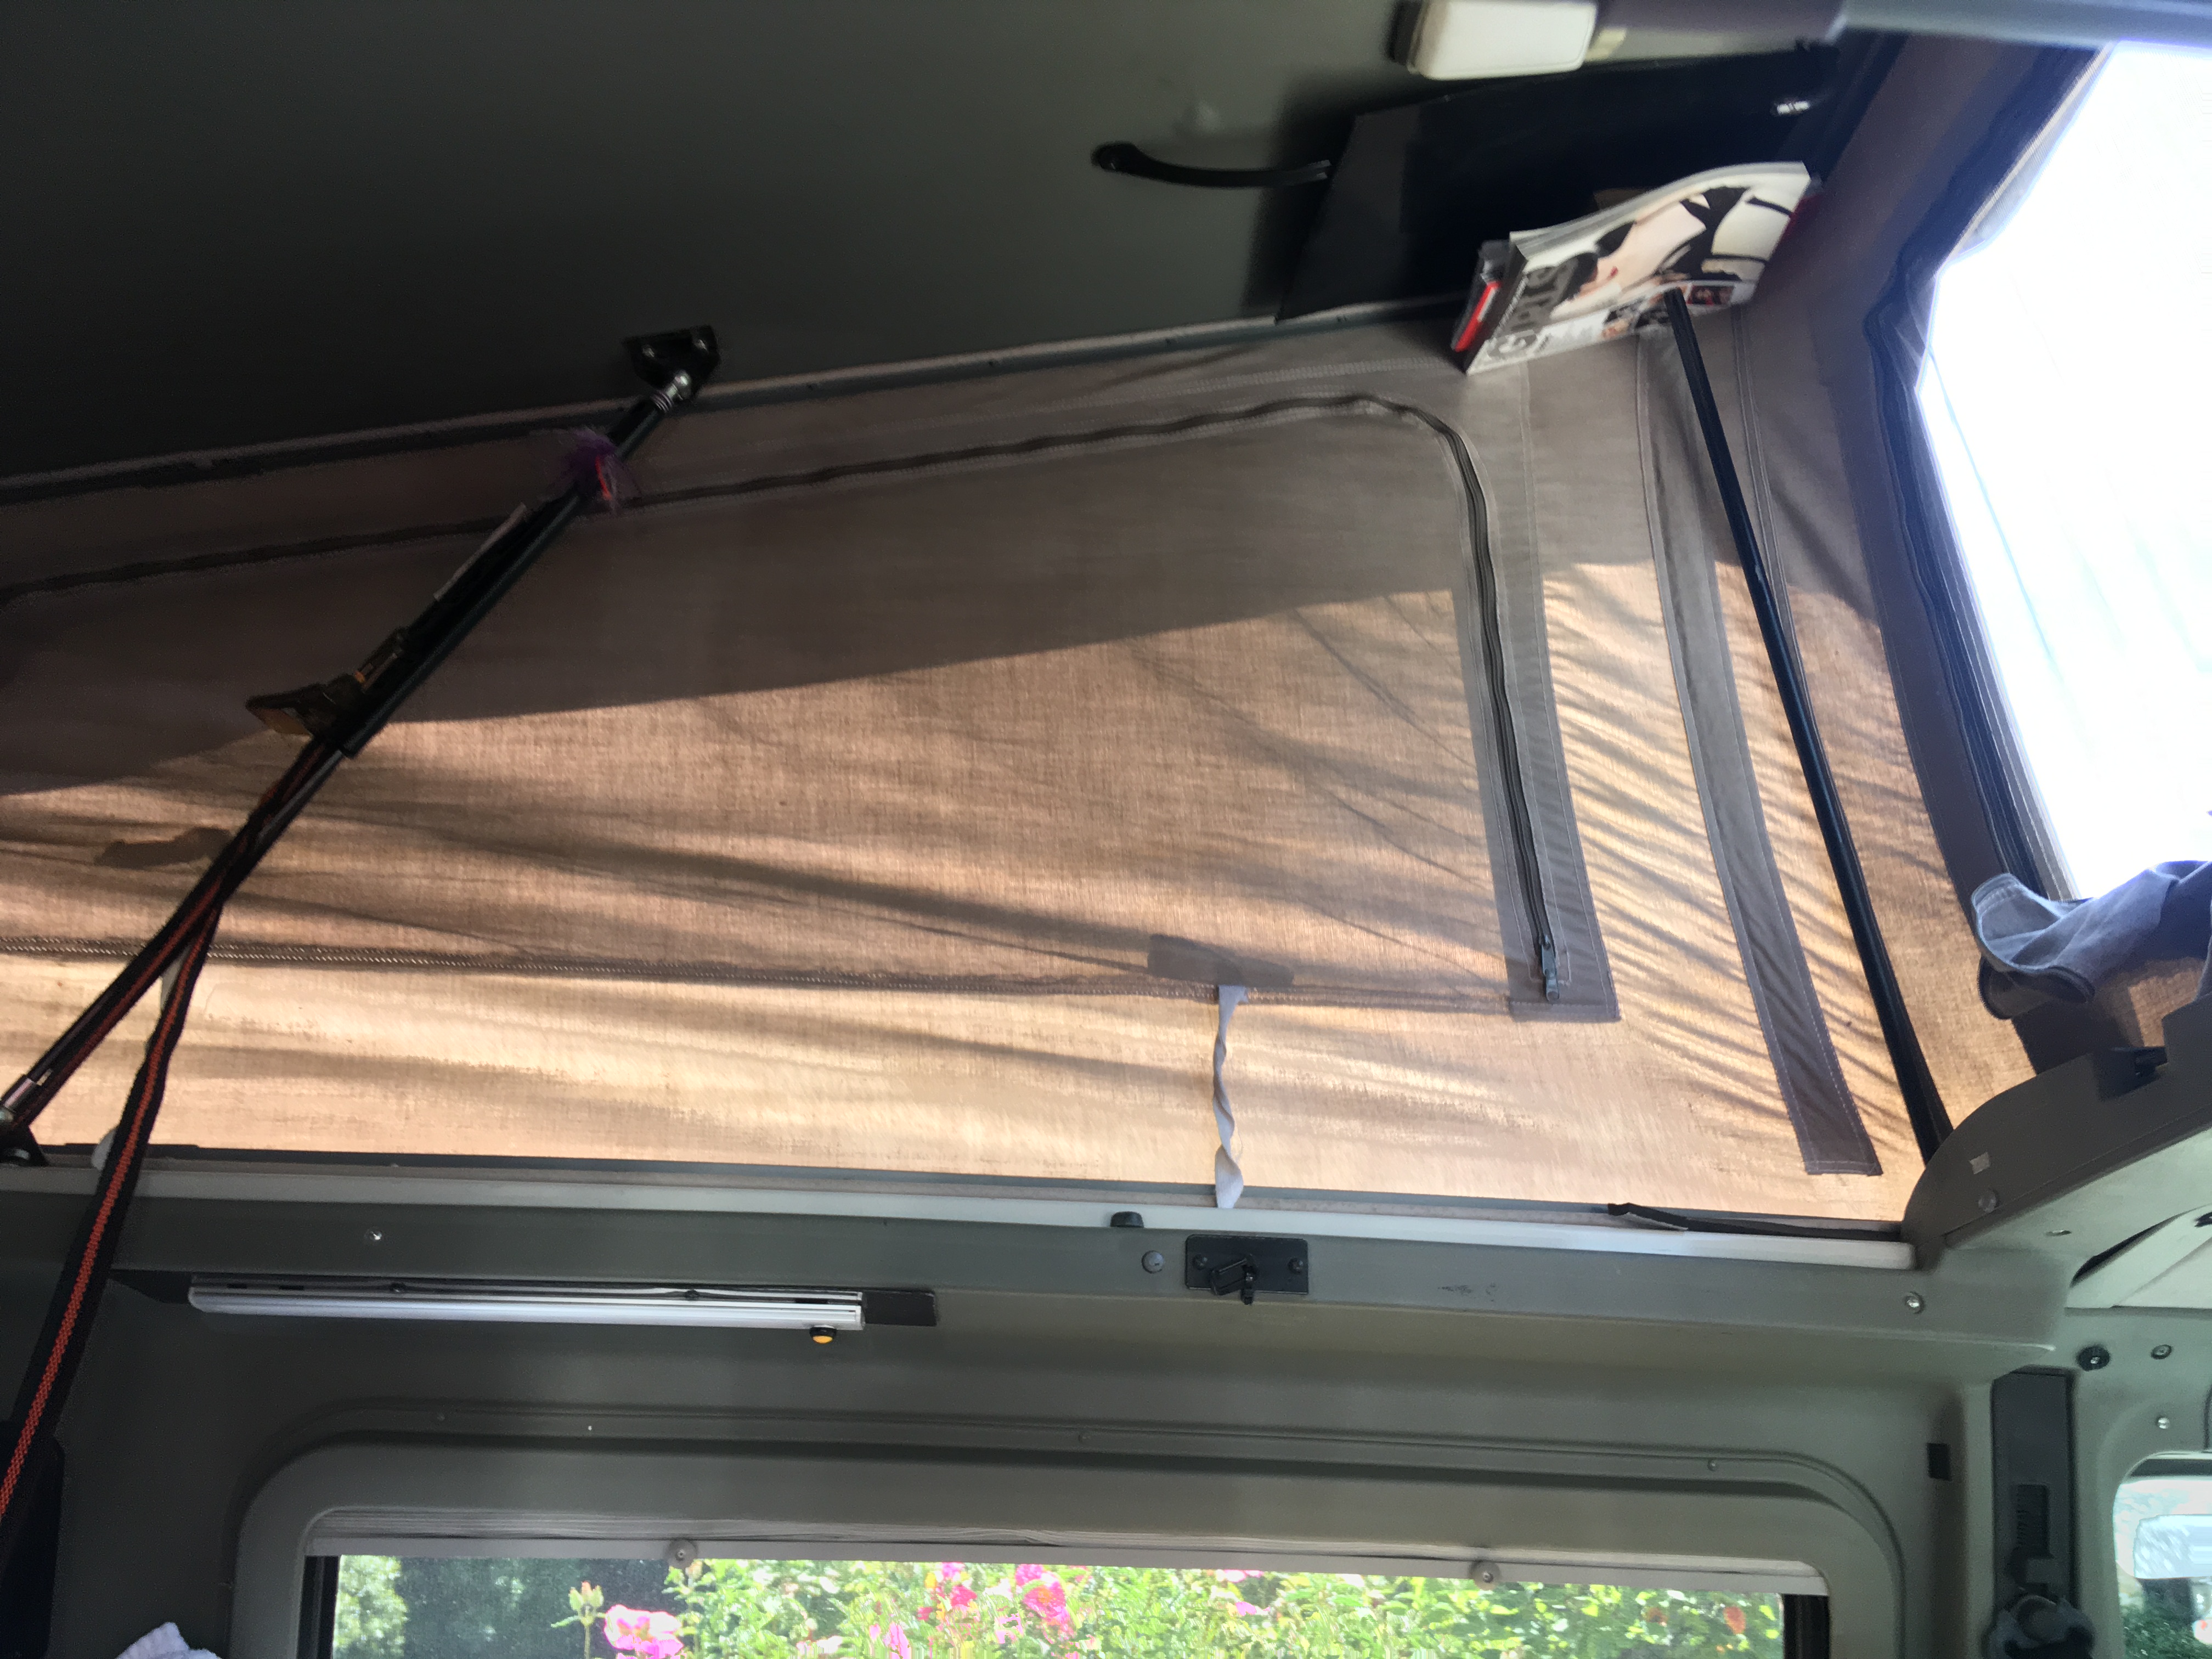
-Canvas tent
Probably as much the age of the van as anything else but I really like having a canvas as opposed to a nylon tent. It’s the same with real tents, canvas is great because it breaths but awful because its heavy (if your hiking). Works better to me than a modern tent.
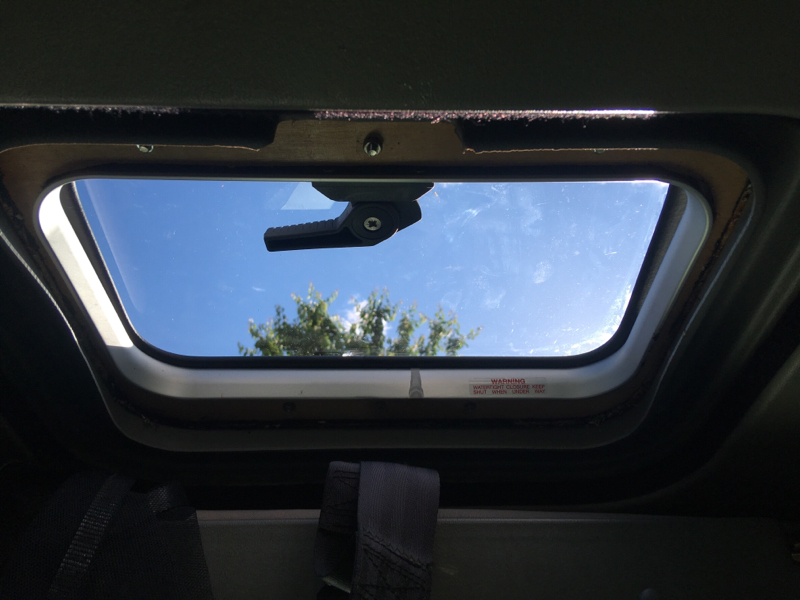
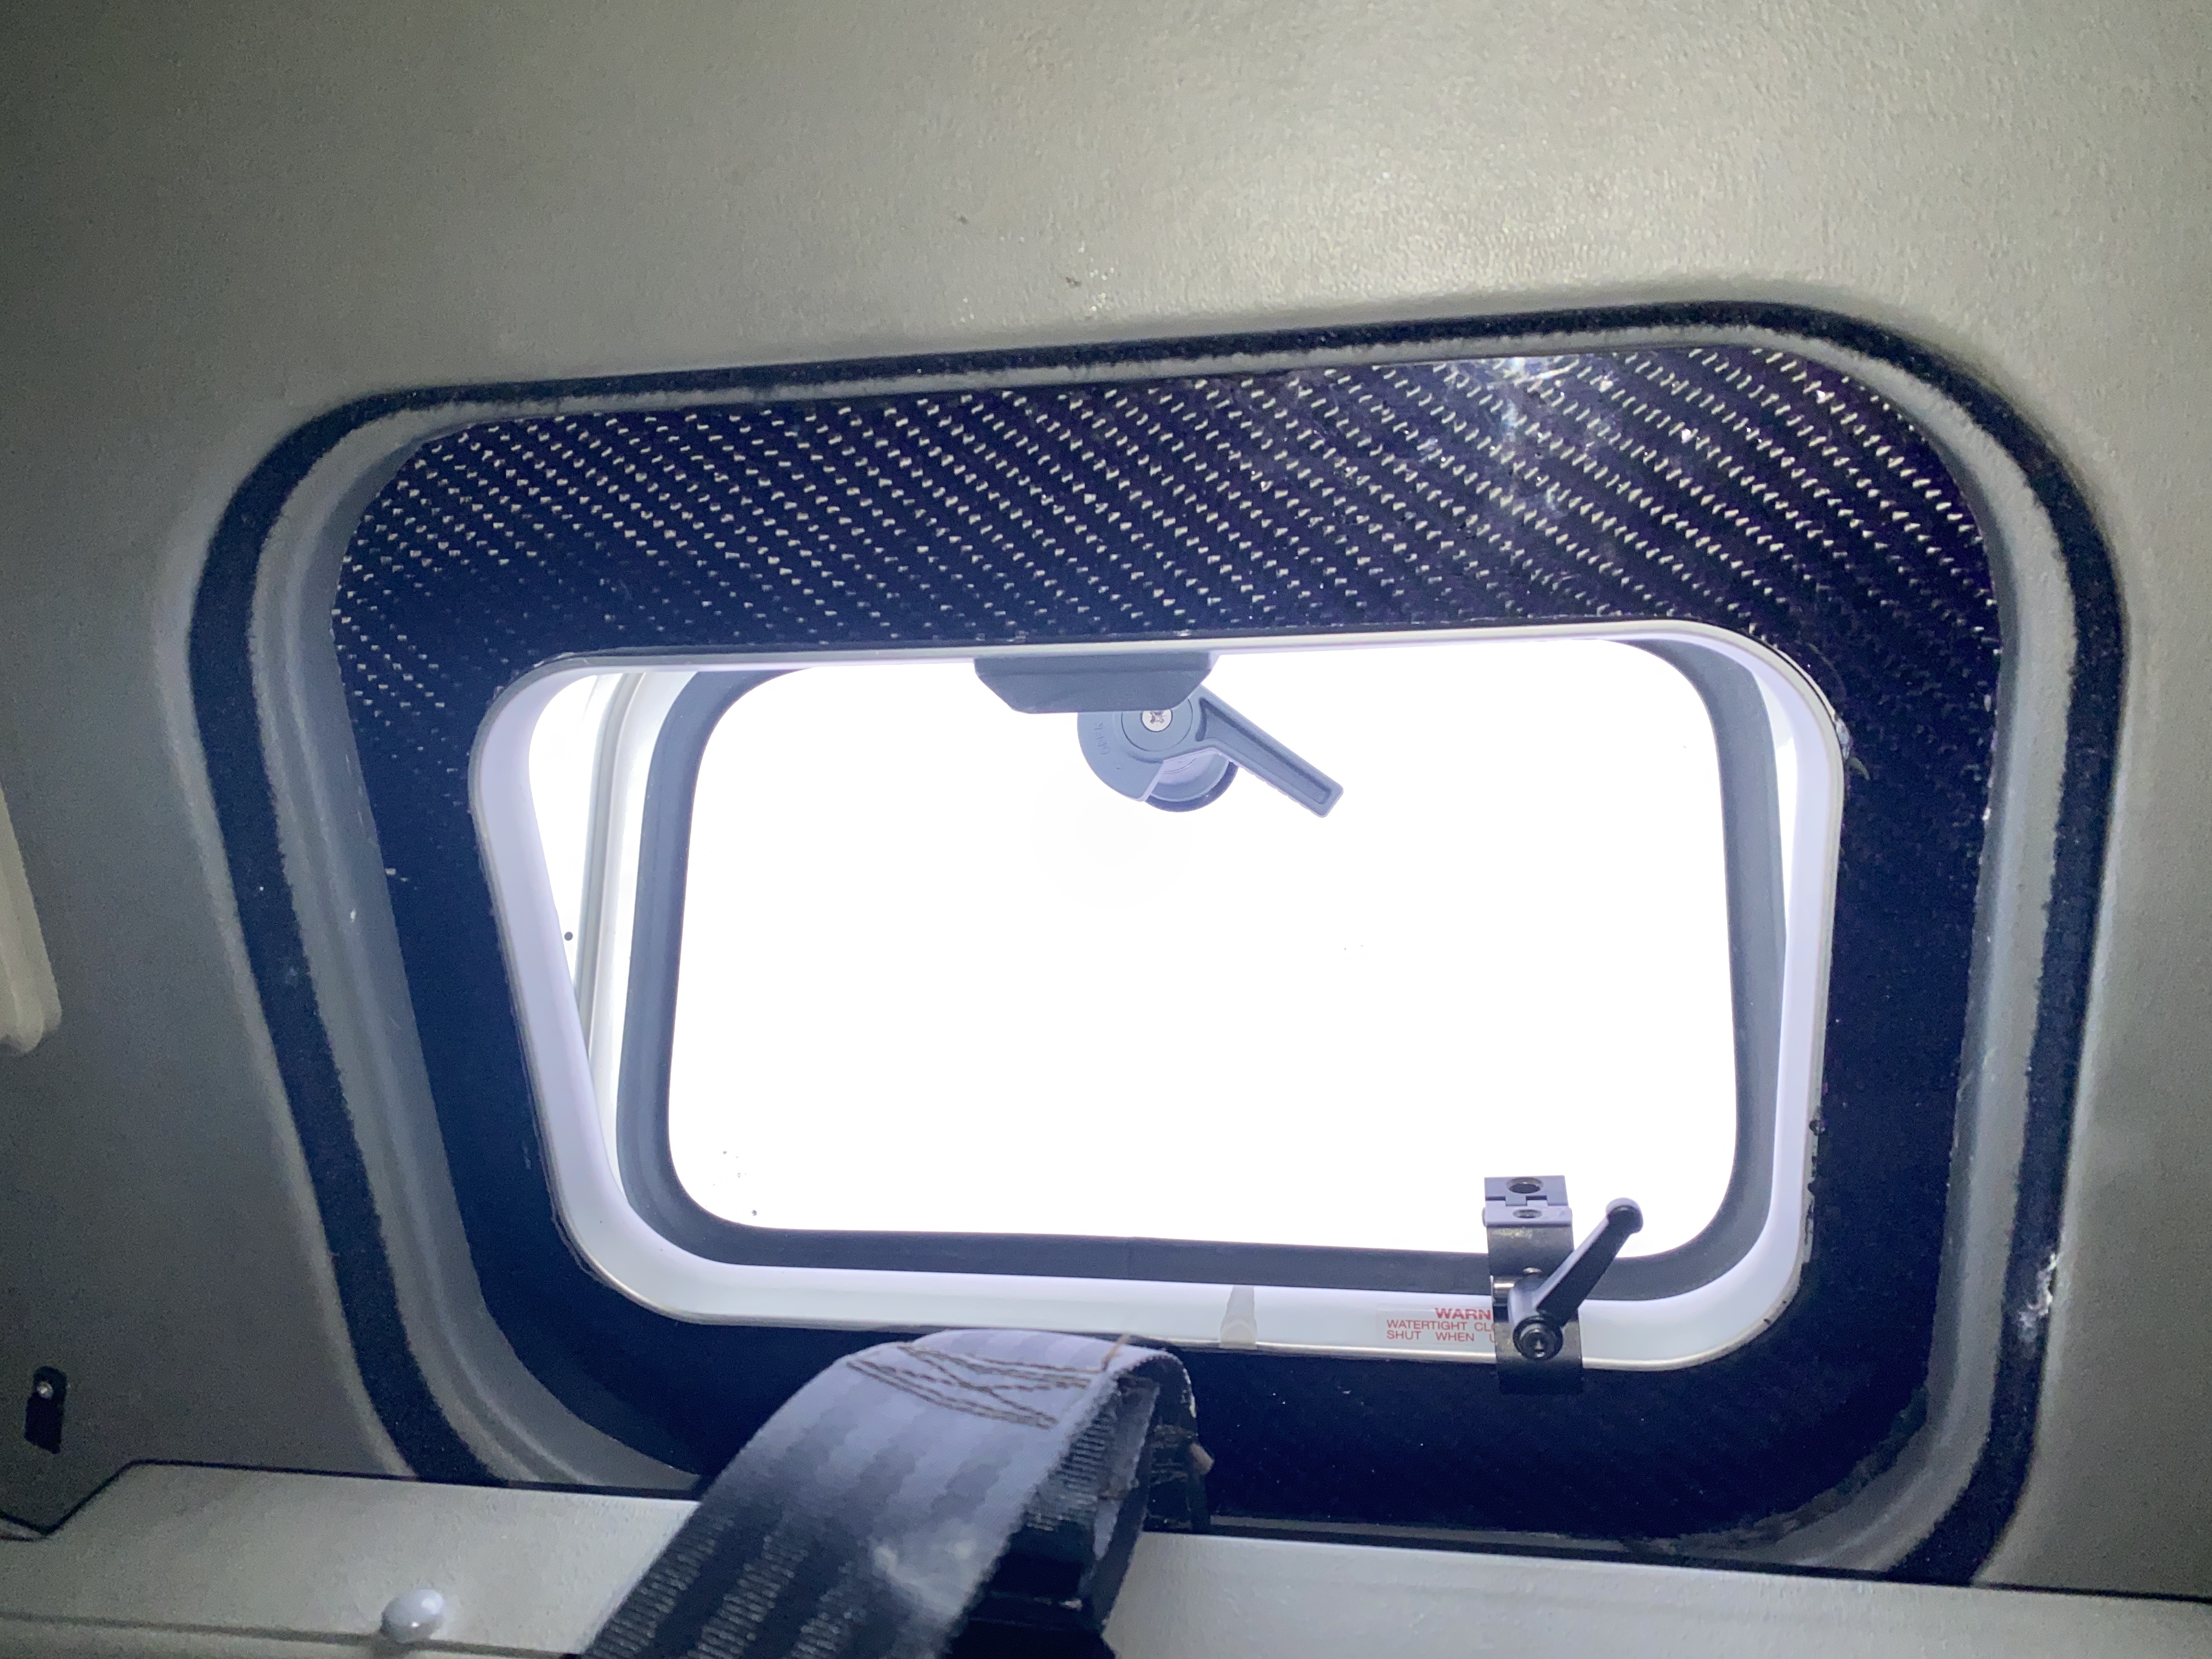
Windows in the canvas tent
I don’t know why no-one else seems to get this right. Big windows that open to reveal a mosquito net beneath. Van lights attract bugs, this seems like a no-brainier. Unfortunately if you look at lots of modern pop-top tents they dont have this instead having a useless see-through layer under the window (I suppose they allow light not wind but getting air in is also useful).
The 3 big windows are also surprisingly not common.
The roof vent also seems like a nice idea but poorly implemented. I looked to swap for another modern vent but they are all 100m high. The original one is more a sunroof type vent, no extra height and this is really important to me.
Yes, the actual plastic roof is poorly done. I remain unconvinced whether elevating only the van and not the cab is the best idea. Mine is craceds as many are. They don’t latch down nicely.
Insulation (or lack therof)
It seems there are some real differences between how the brits and the yanks build campervans. In the UK, insulating a van is something that is done first, everything has insulation. Aircon and heating? Much less common. Yanks seem to be the other way around. I was always planning on having a heater and it is seriously useful. My van actually has broken cab heating, so the rear heater is actually useful for warming the van up generally too!
The aircon has been a nightmare but at times really useful.
Build quality (or lack thereof)
The van is put together with metal self-tapping screws. No threaded inserts etc. If something is bolted through a surface then the bolt on the other side is not captive. If it goes through the floorpan, it takes two people to remove a bolt, one either side. No bolts have Mylar inserts when they should.
Lots of bolts have self tapping into plastic (heating vents etc) which just fails.
Wiring
This really does follow the build section. The wiring additions are poorly done with no proper colour coding (black, green or purple are the colours). Tracing wiring is very diffult and mine isn’t wired as per the winnebago diagram (similar but clearly varied over the years slightly.
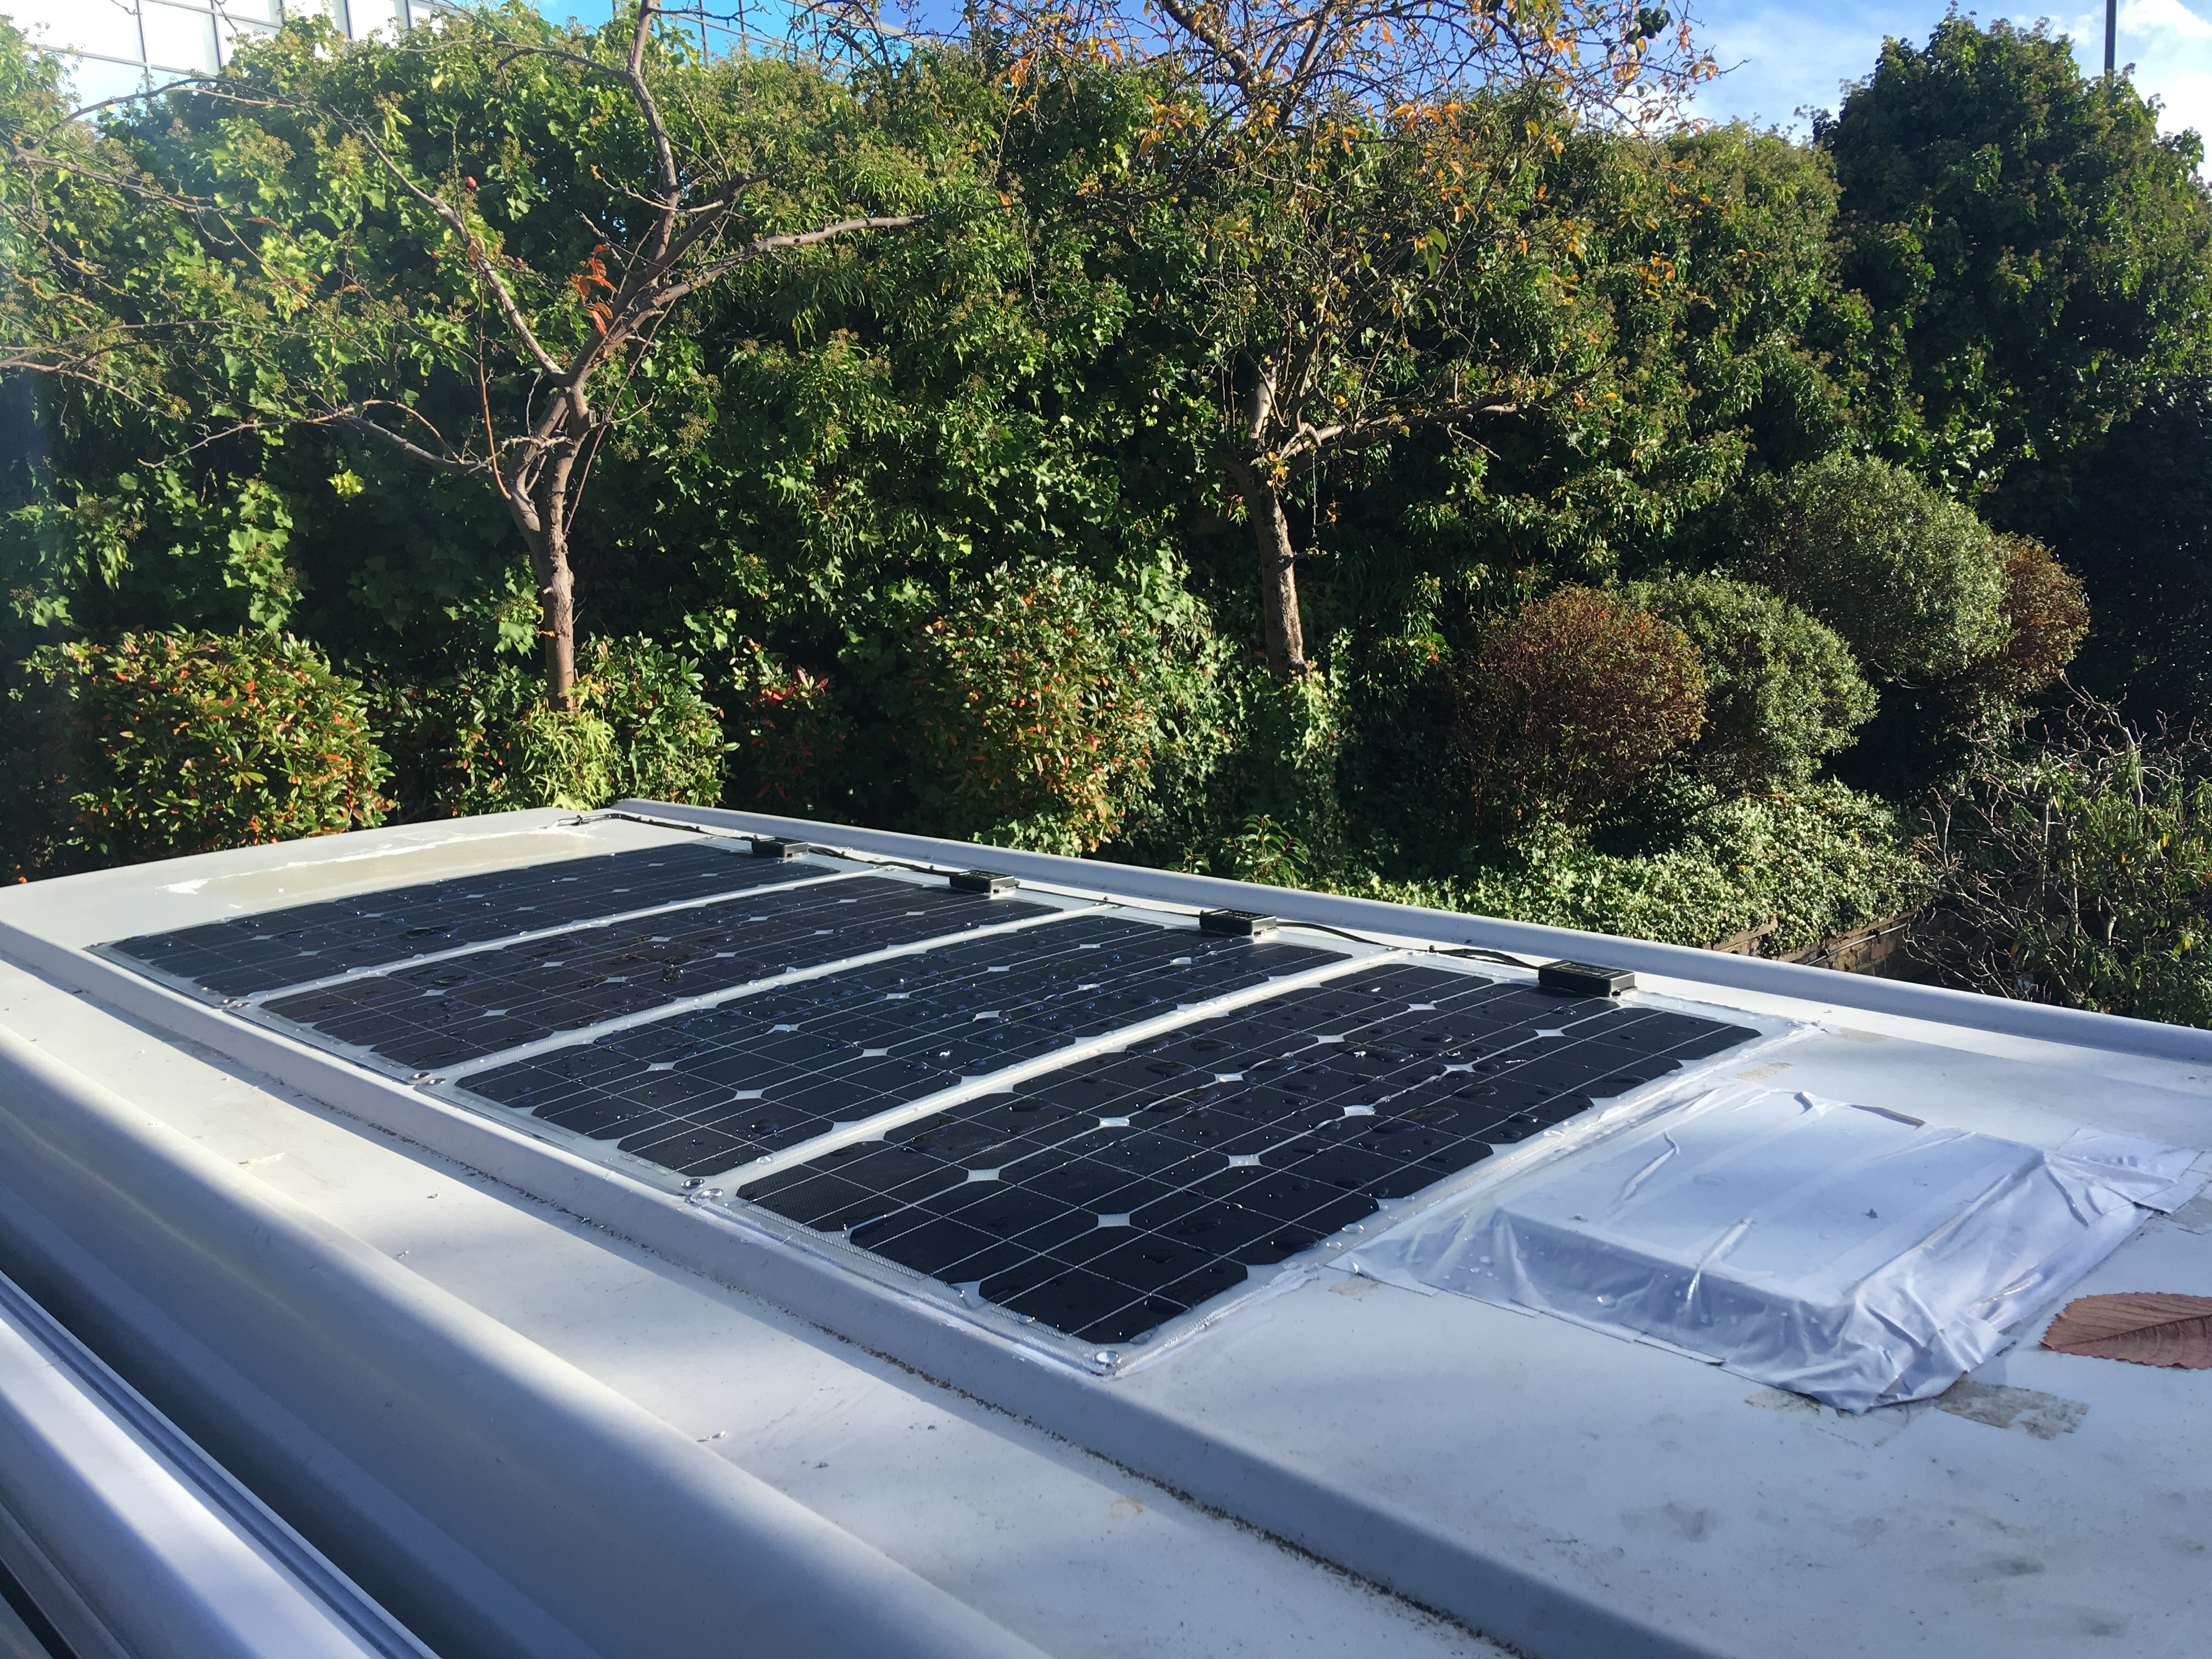
Off grid capability
The LPG tank is awesome. Can still travel on the Eurostar. Filling with gas is super cheap and lasts ages (even in winter). No issues with different bottles in other countries. If really going to need to top up abroad bring LPG adapters. Building an off-grid setup today, solar and compressor fridges are where most of us go but this wasn’t an option back then.
The tank is kind of dangerous today. Very easy to over fill even if you follow the (misleading) eurovan manual. Apparently there were warnings on the tank at one point. New tanks stop filling automatically, these old ones do not. I am not sure its possible to actually fill it up the way intended in a petrol station (involves opening an overflow valve). I watch the meter now (which I had to replace).
Bed
Easy to remove, sliding rock& roll bed! Hits a lot of points for flexibility, even if its not the best implemented in the world. I didn’t realise until I had the van that the bed just rolls forward and out on wheels! Not done it yet but makes putting a motorbike in the back a possibilitu
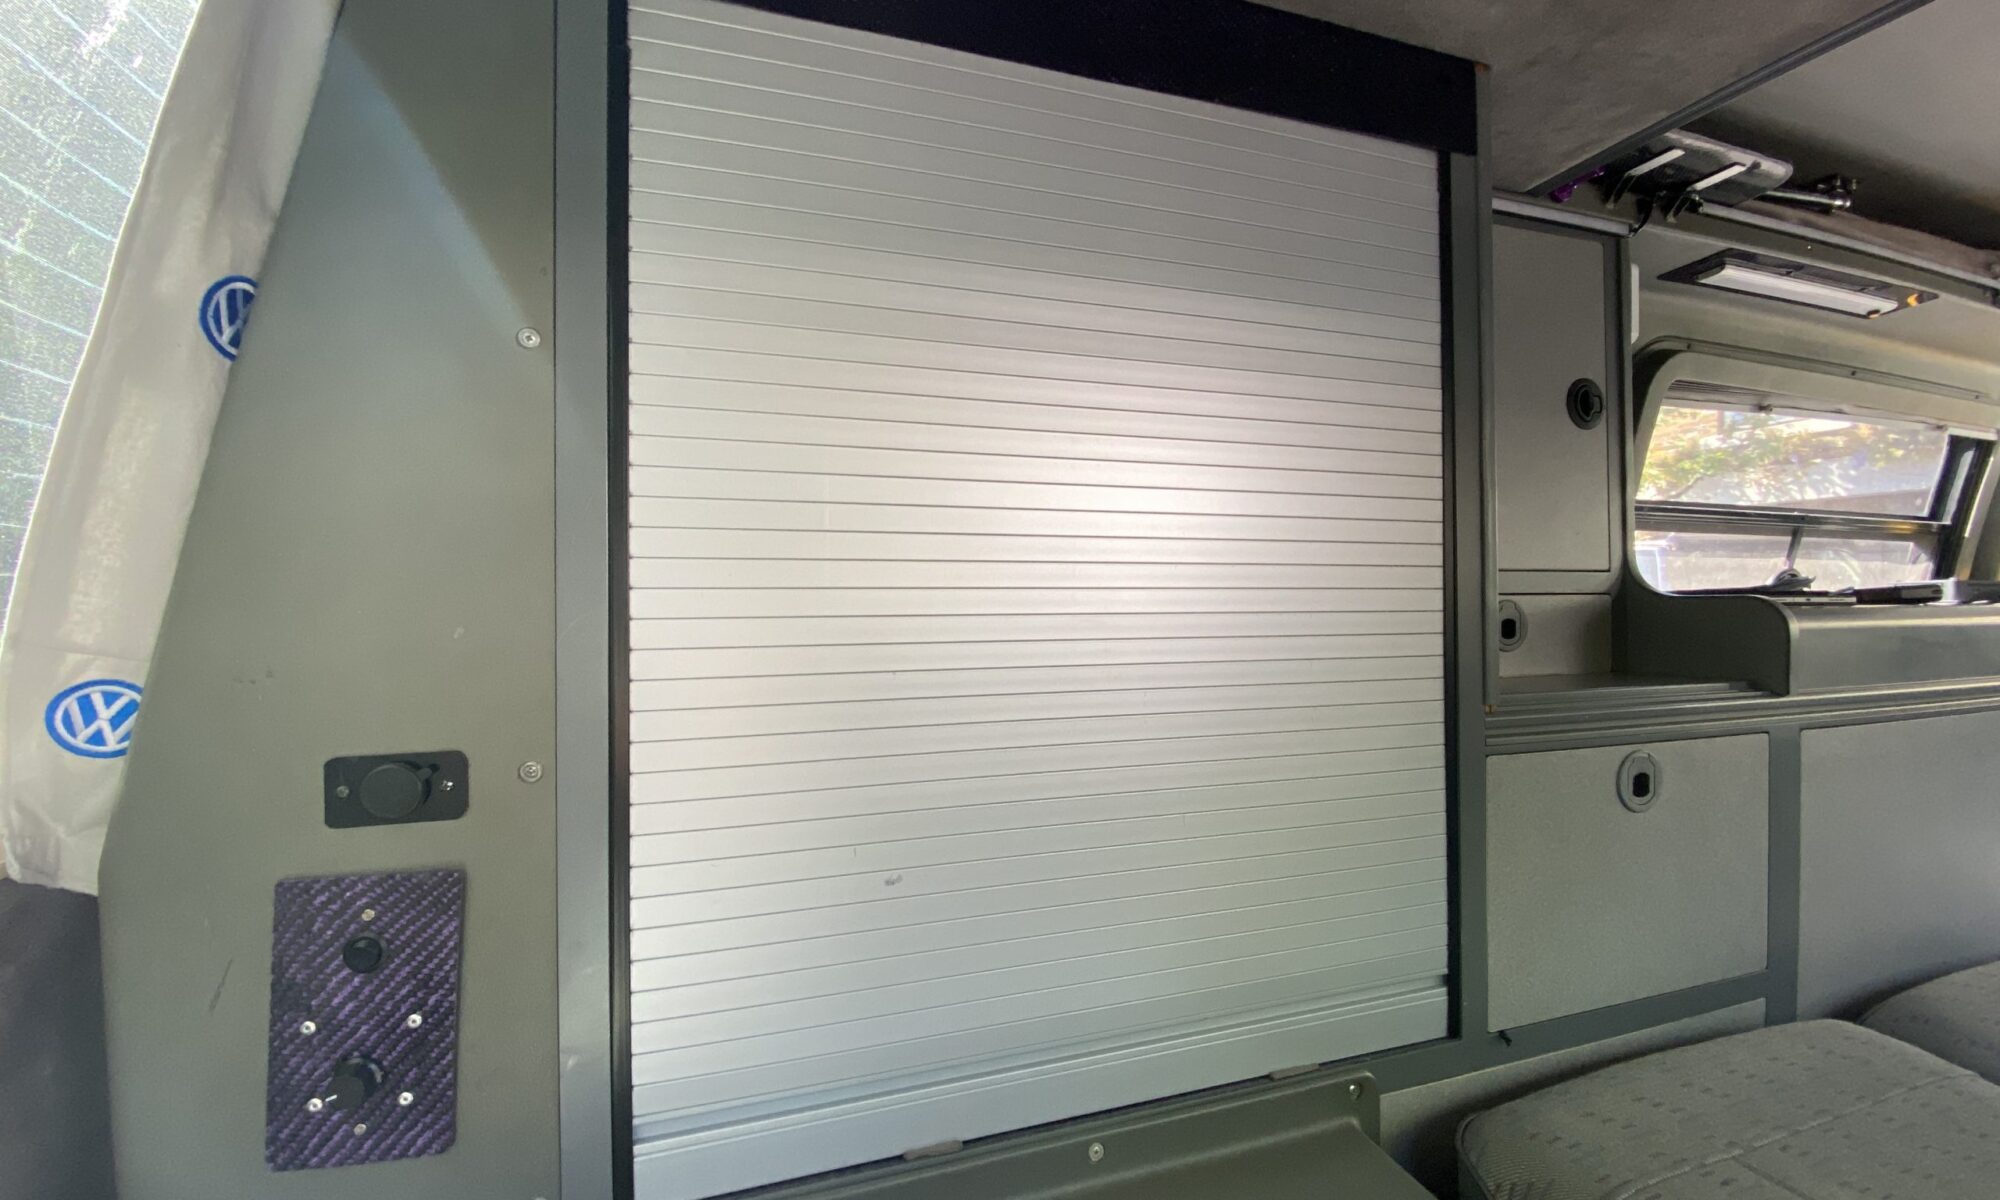
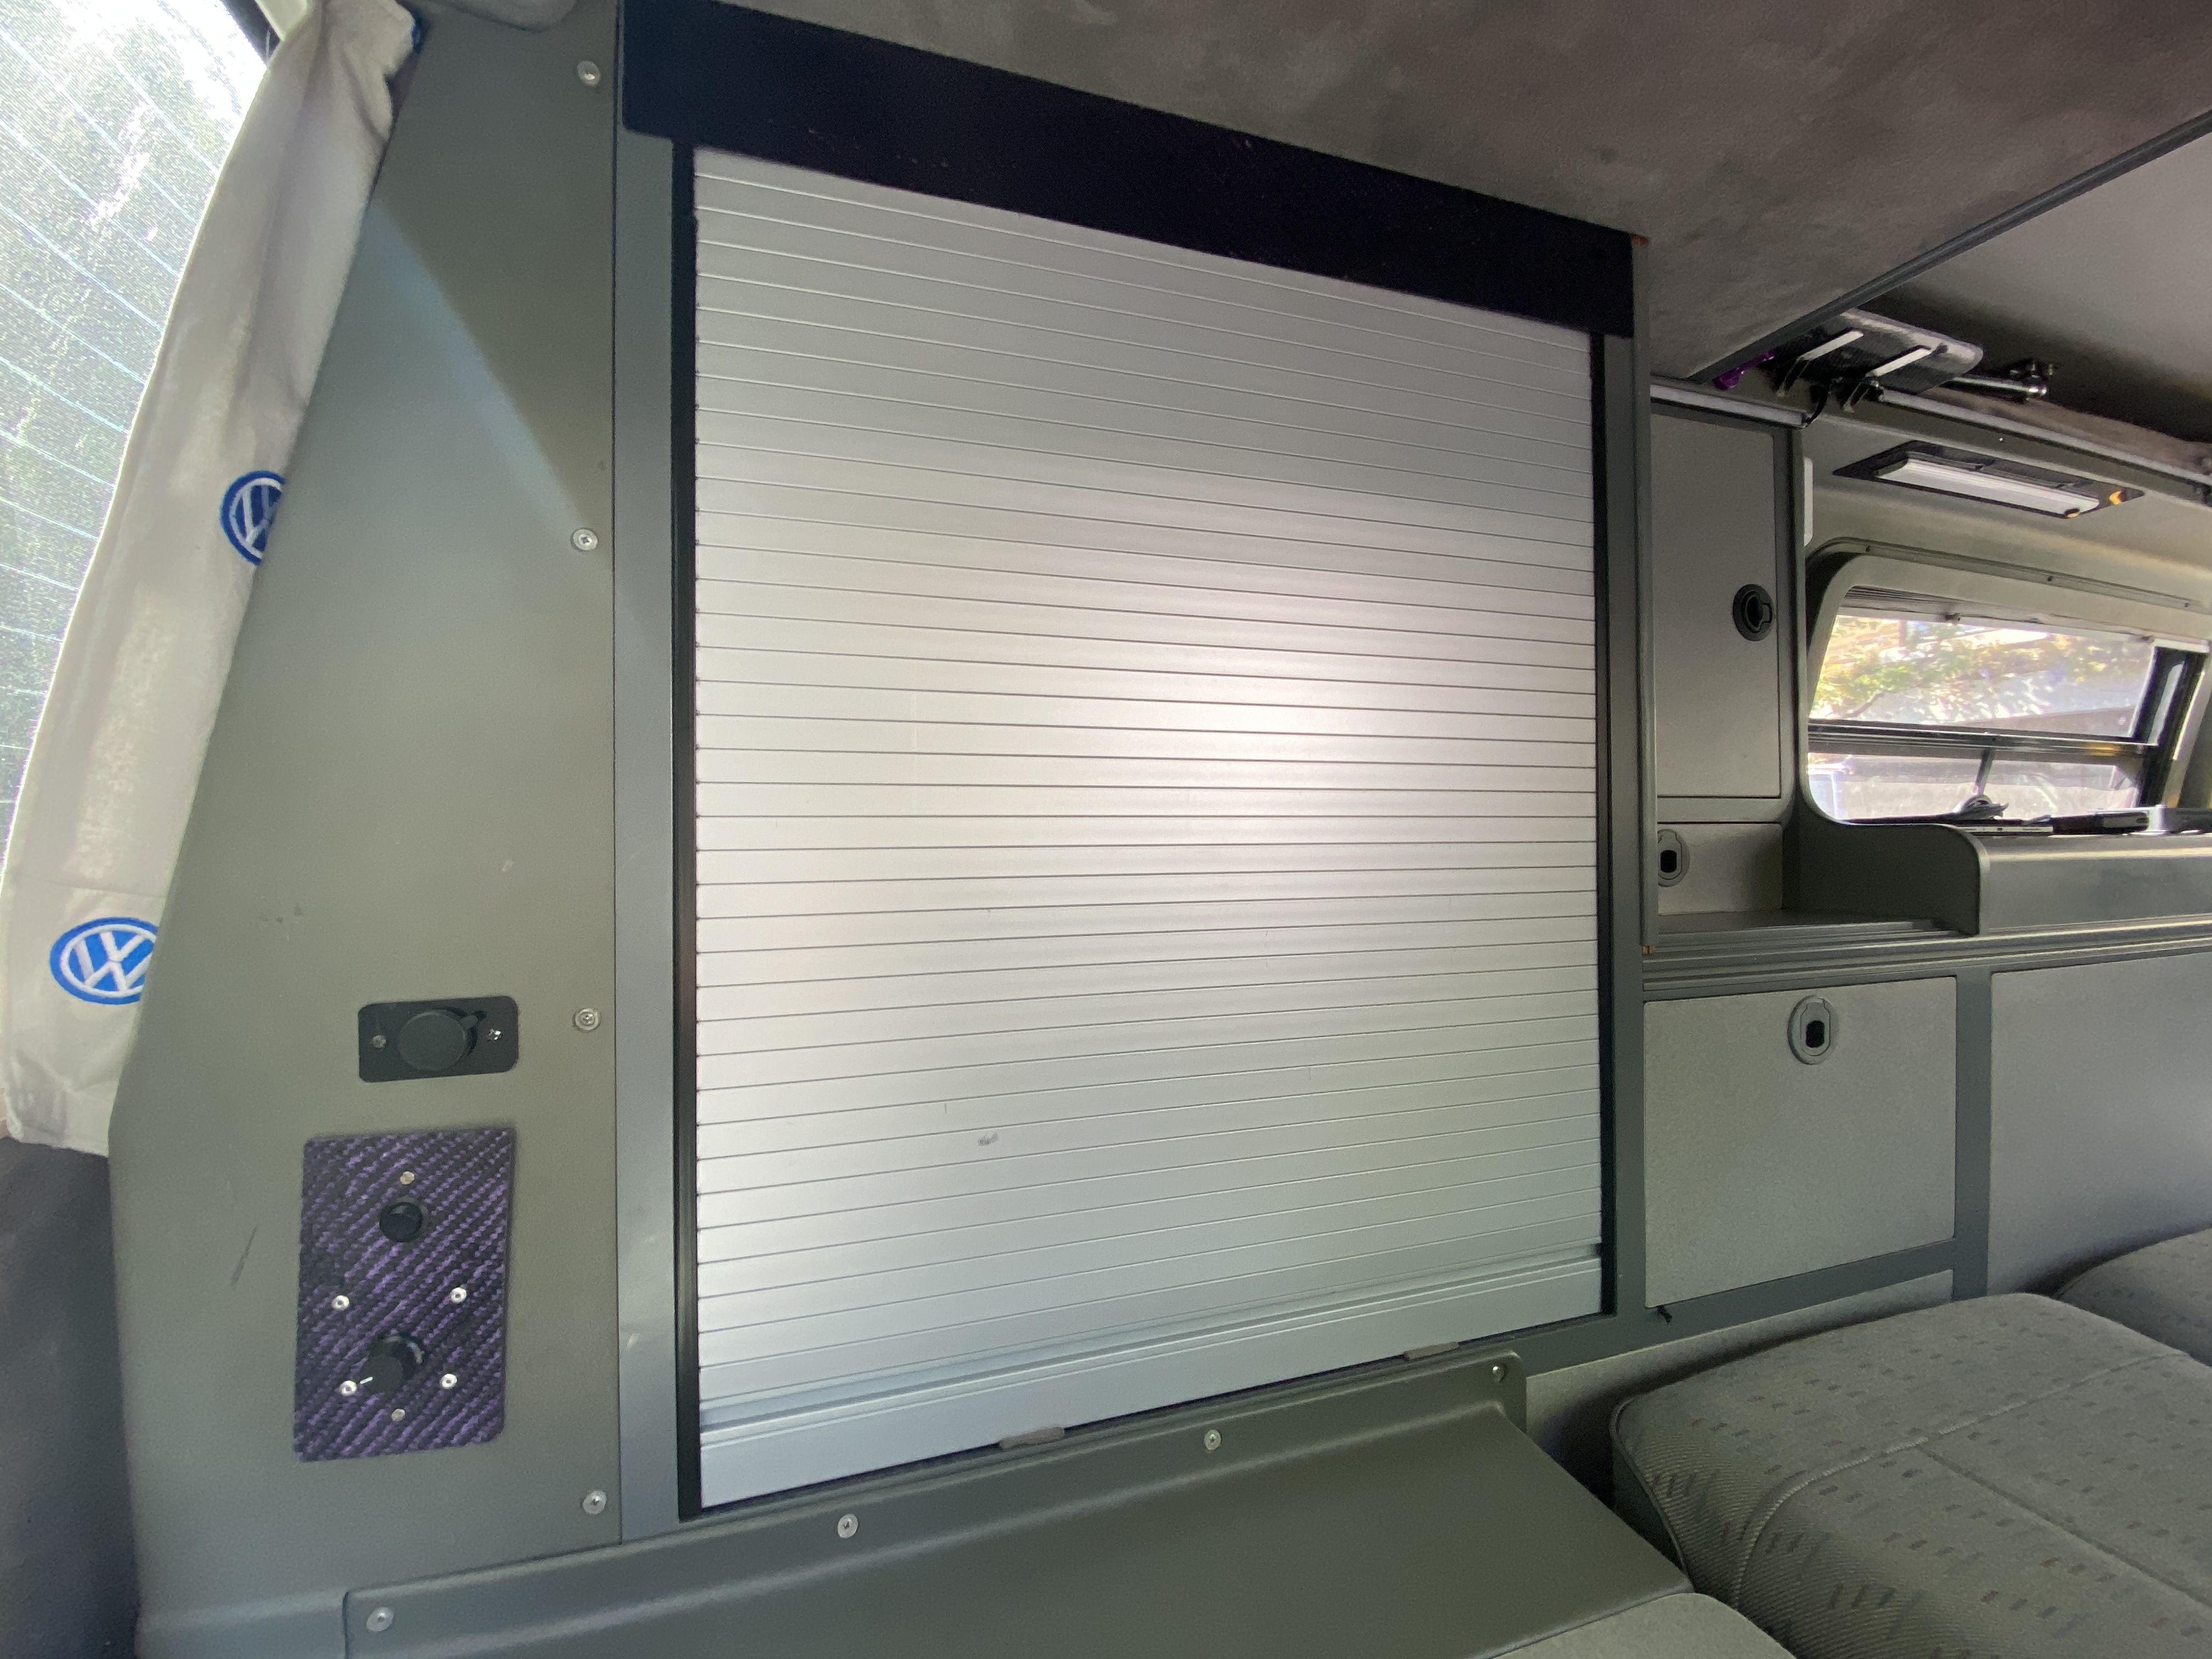
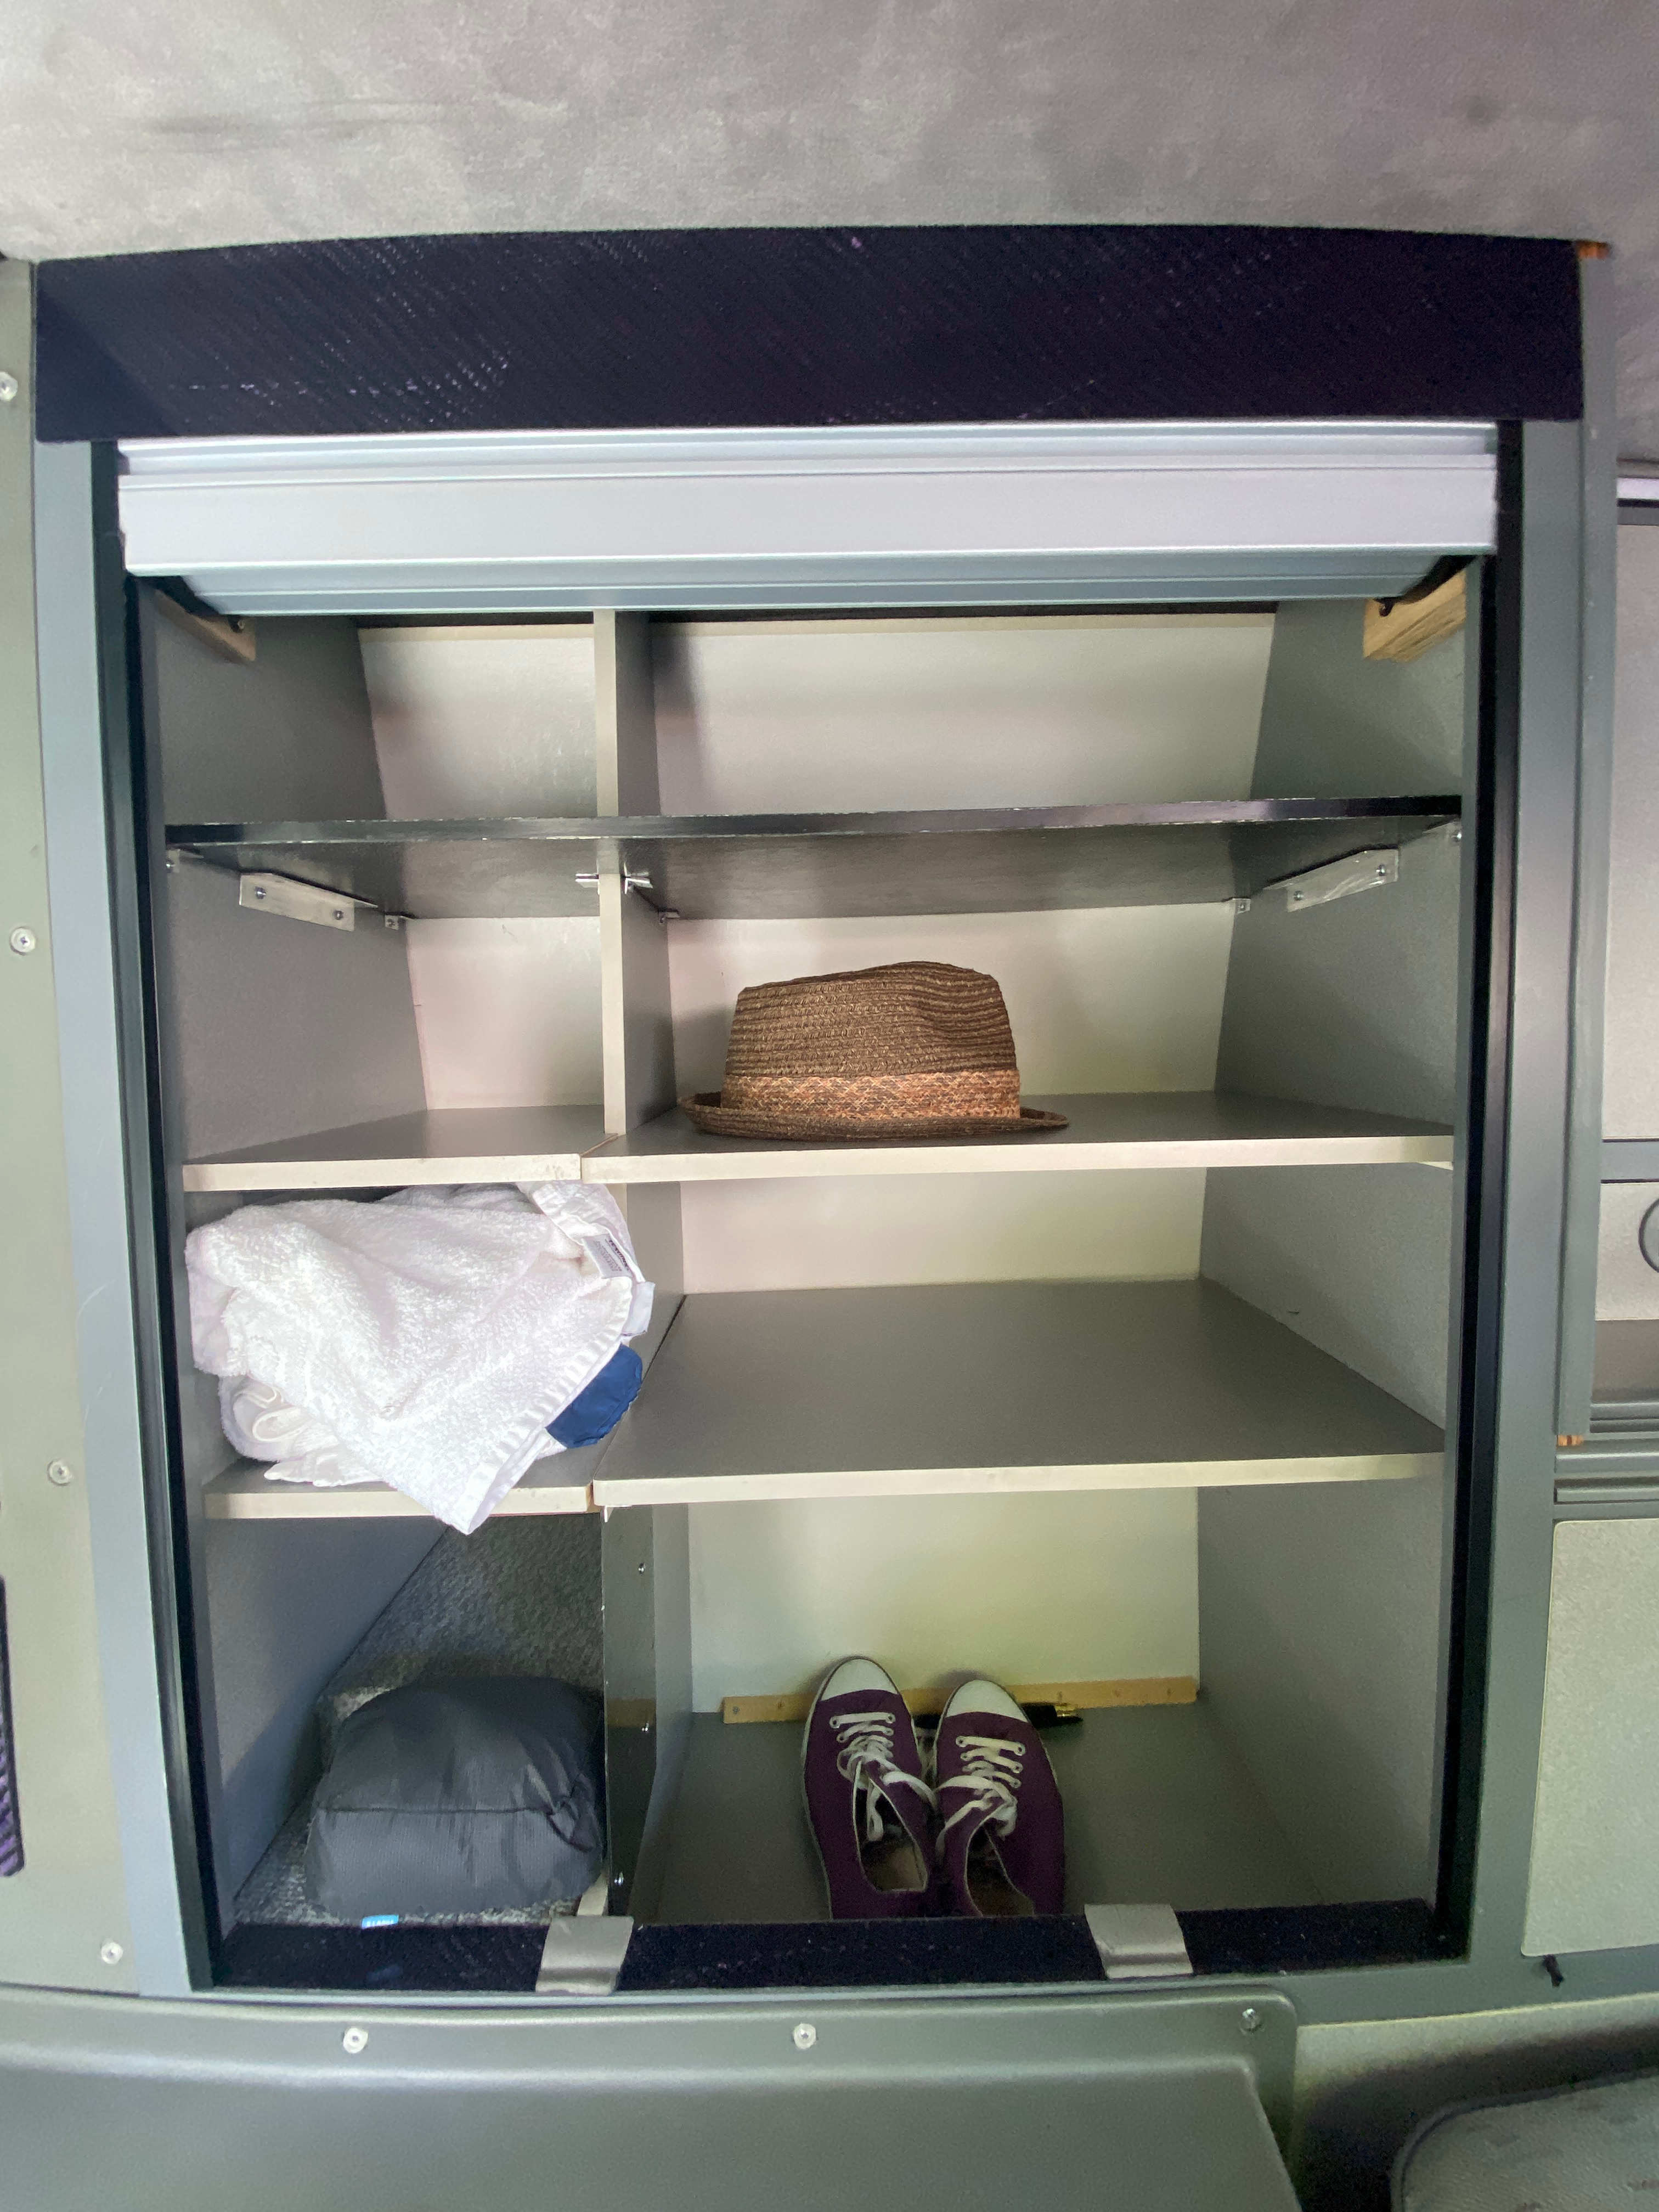
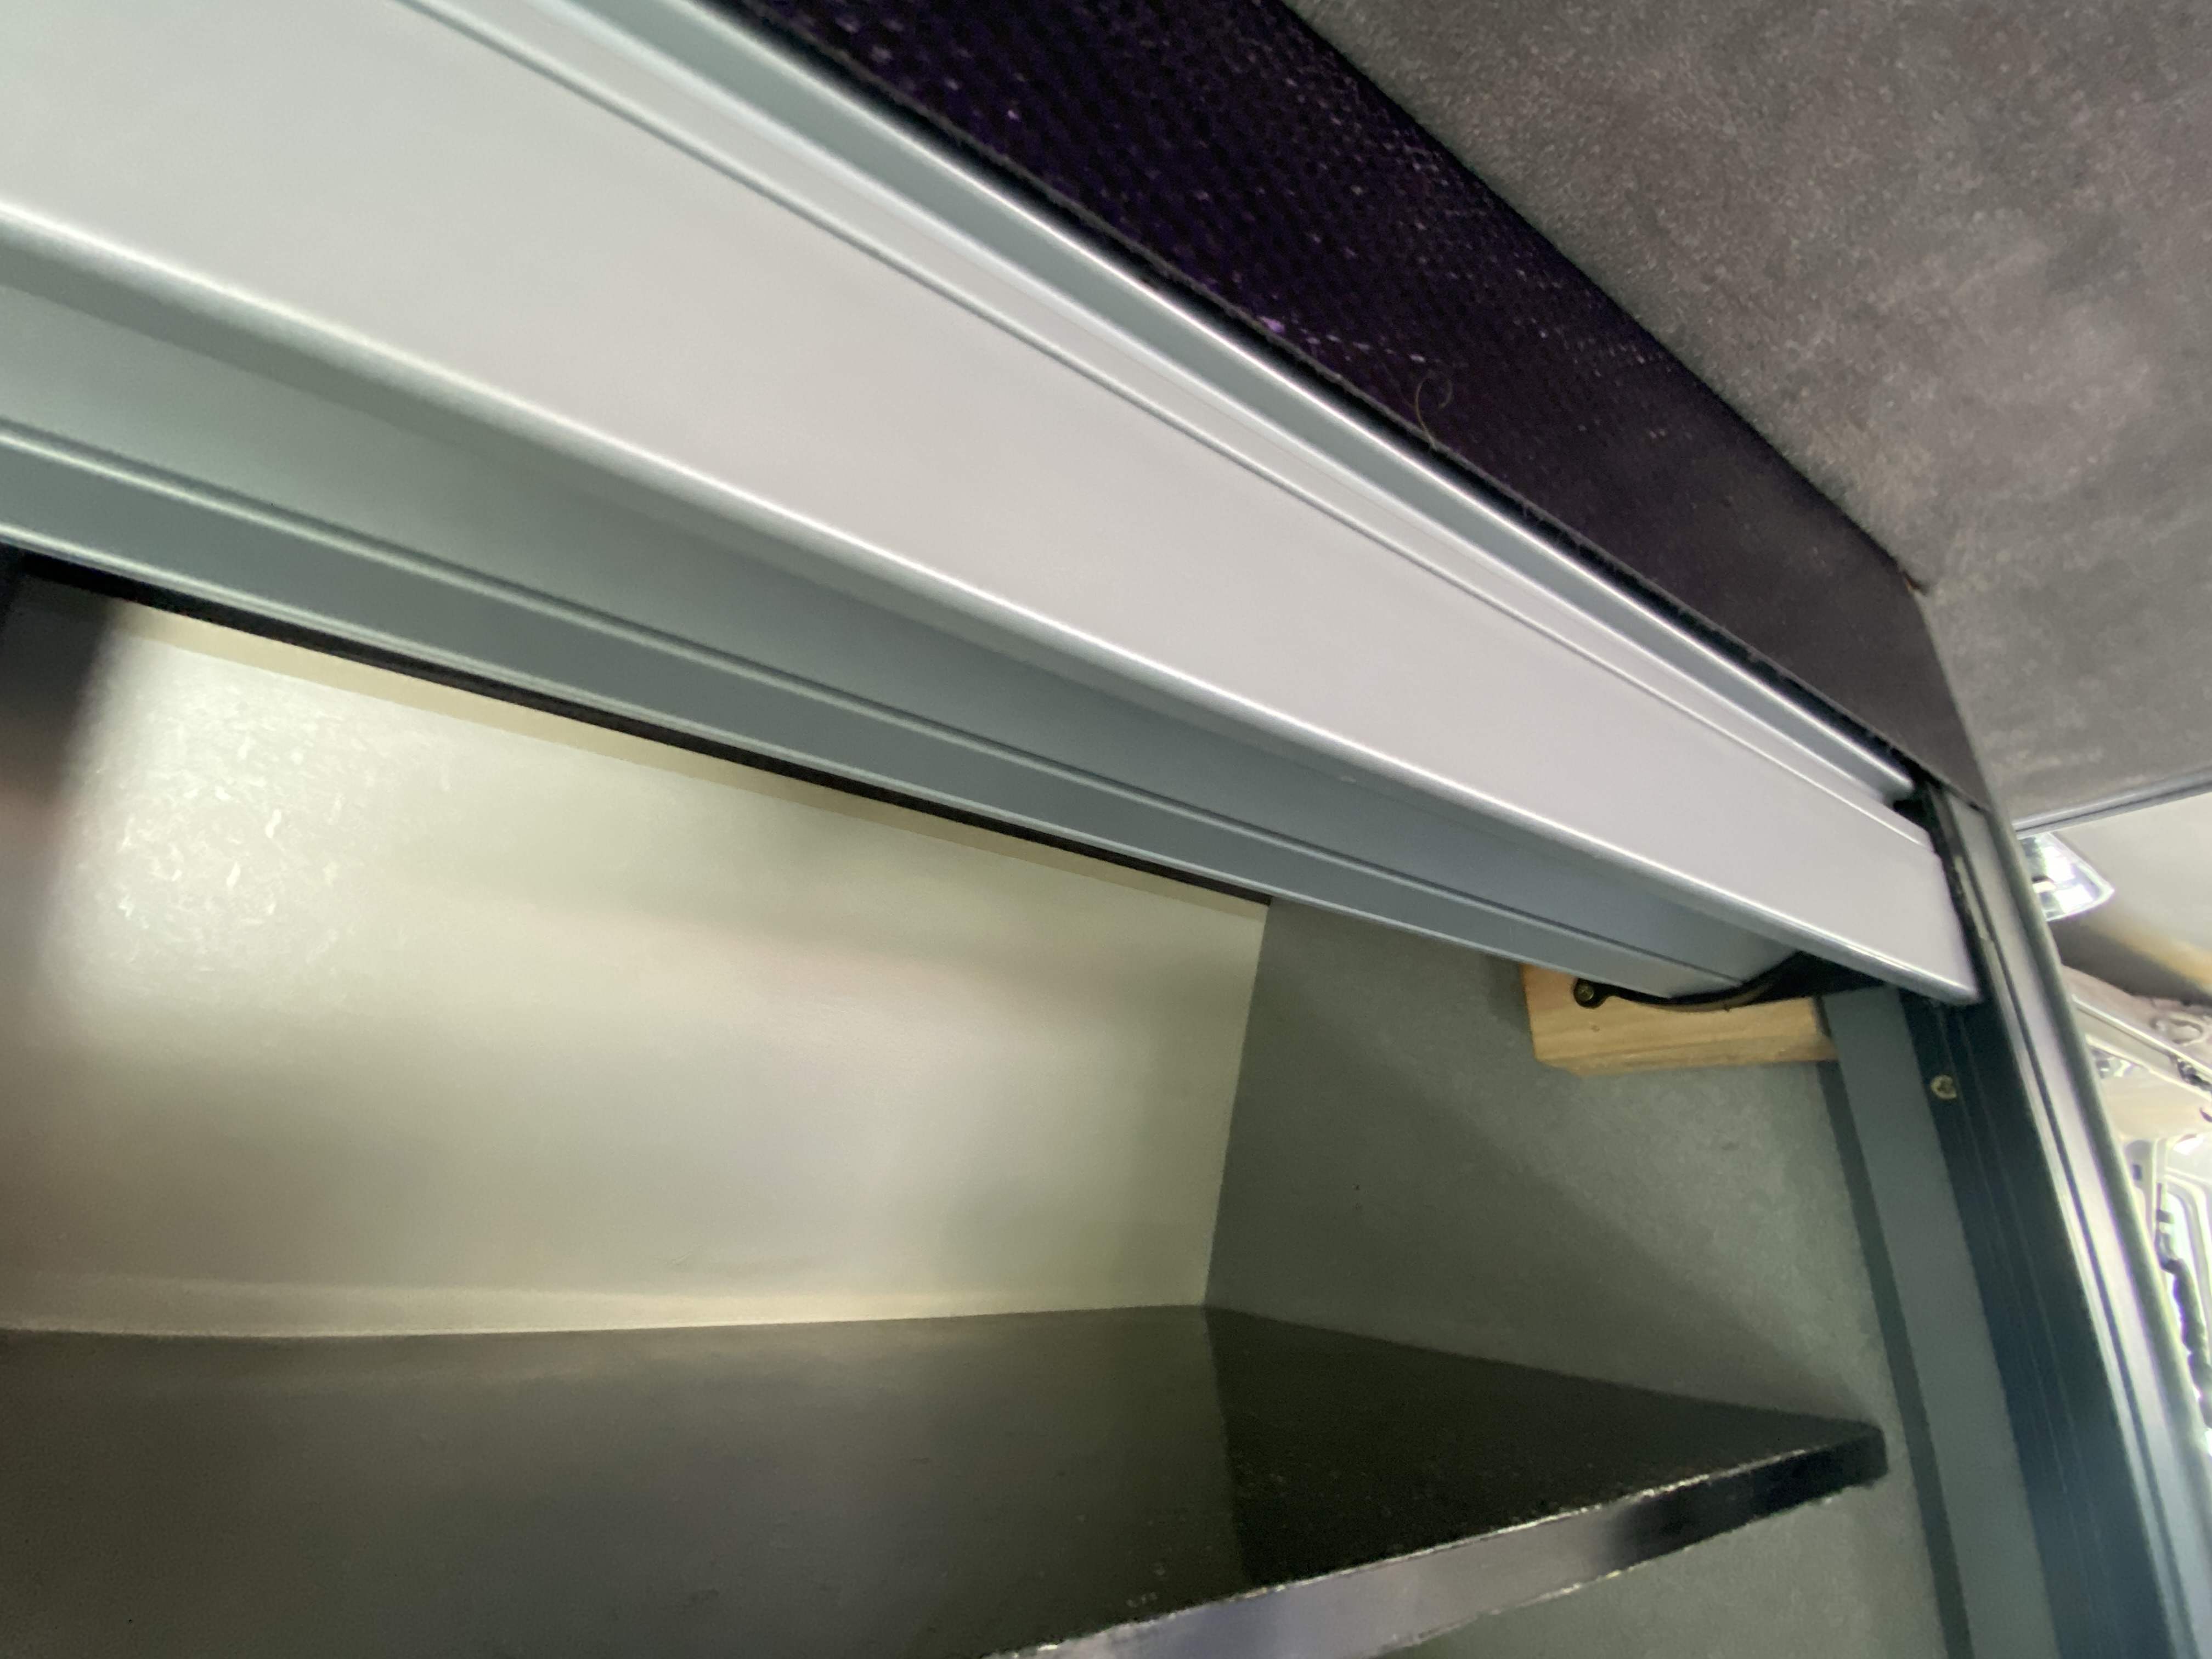
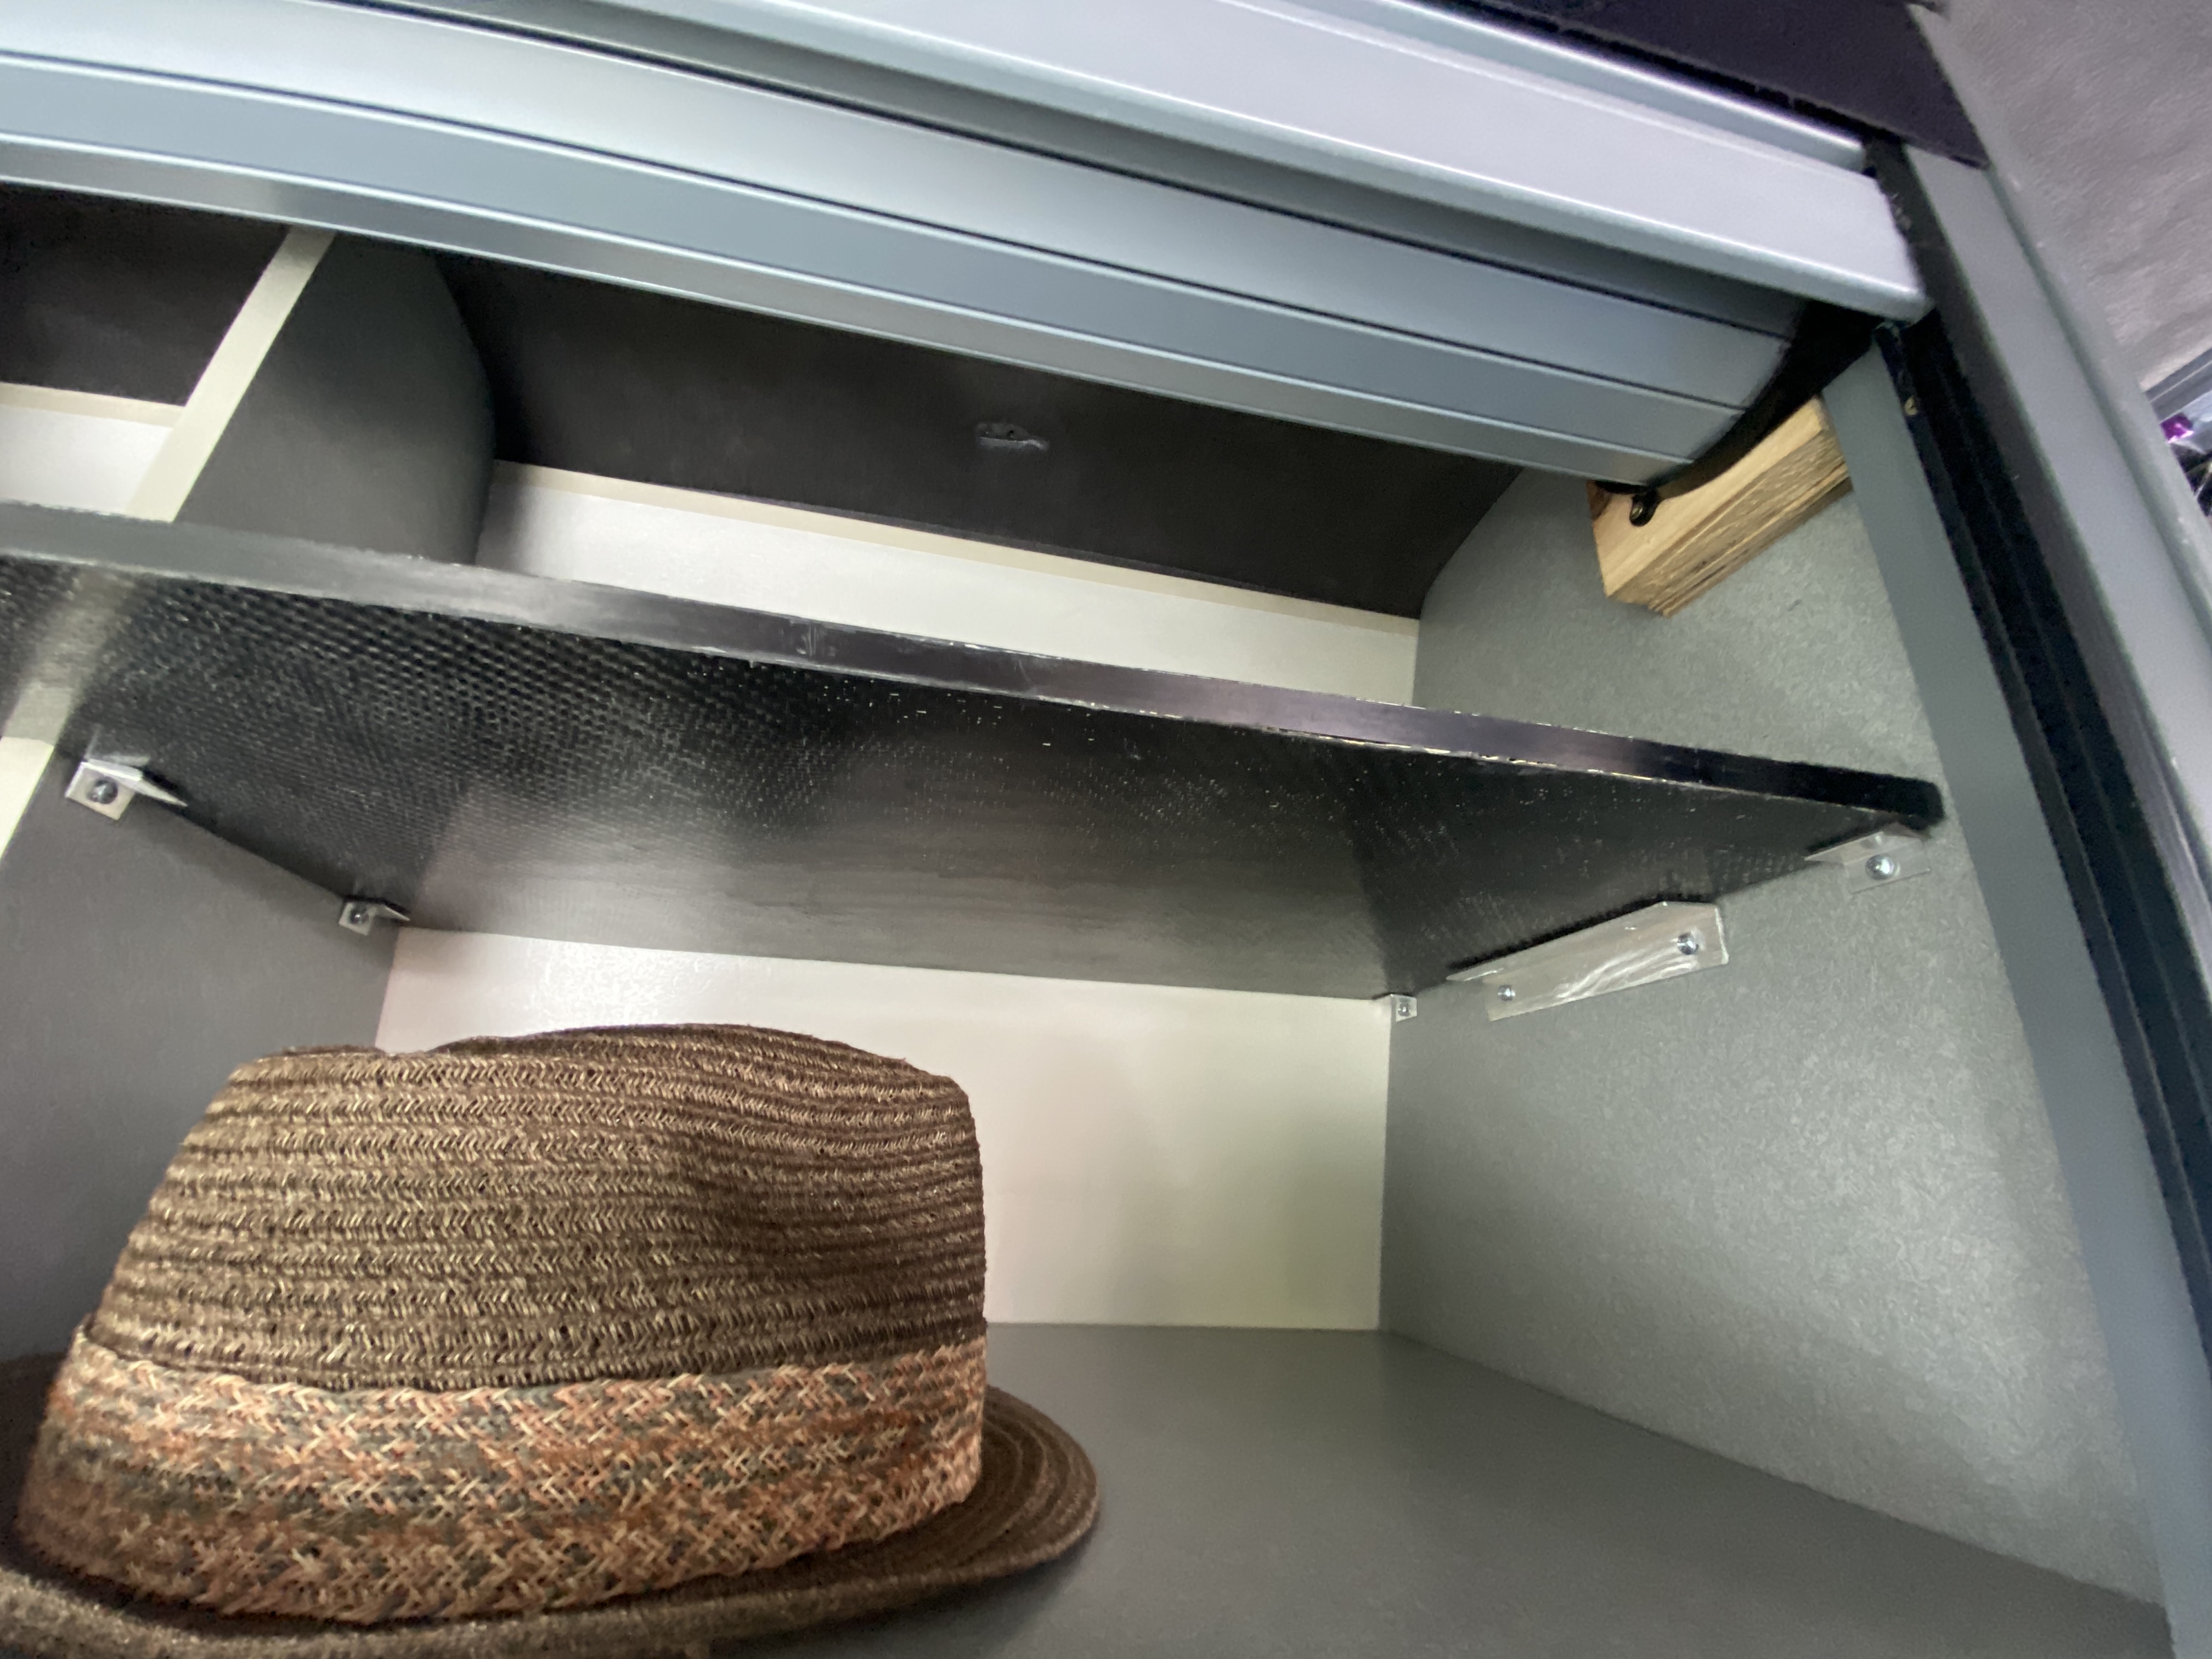
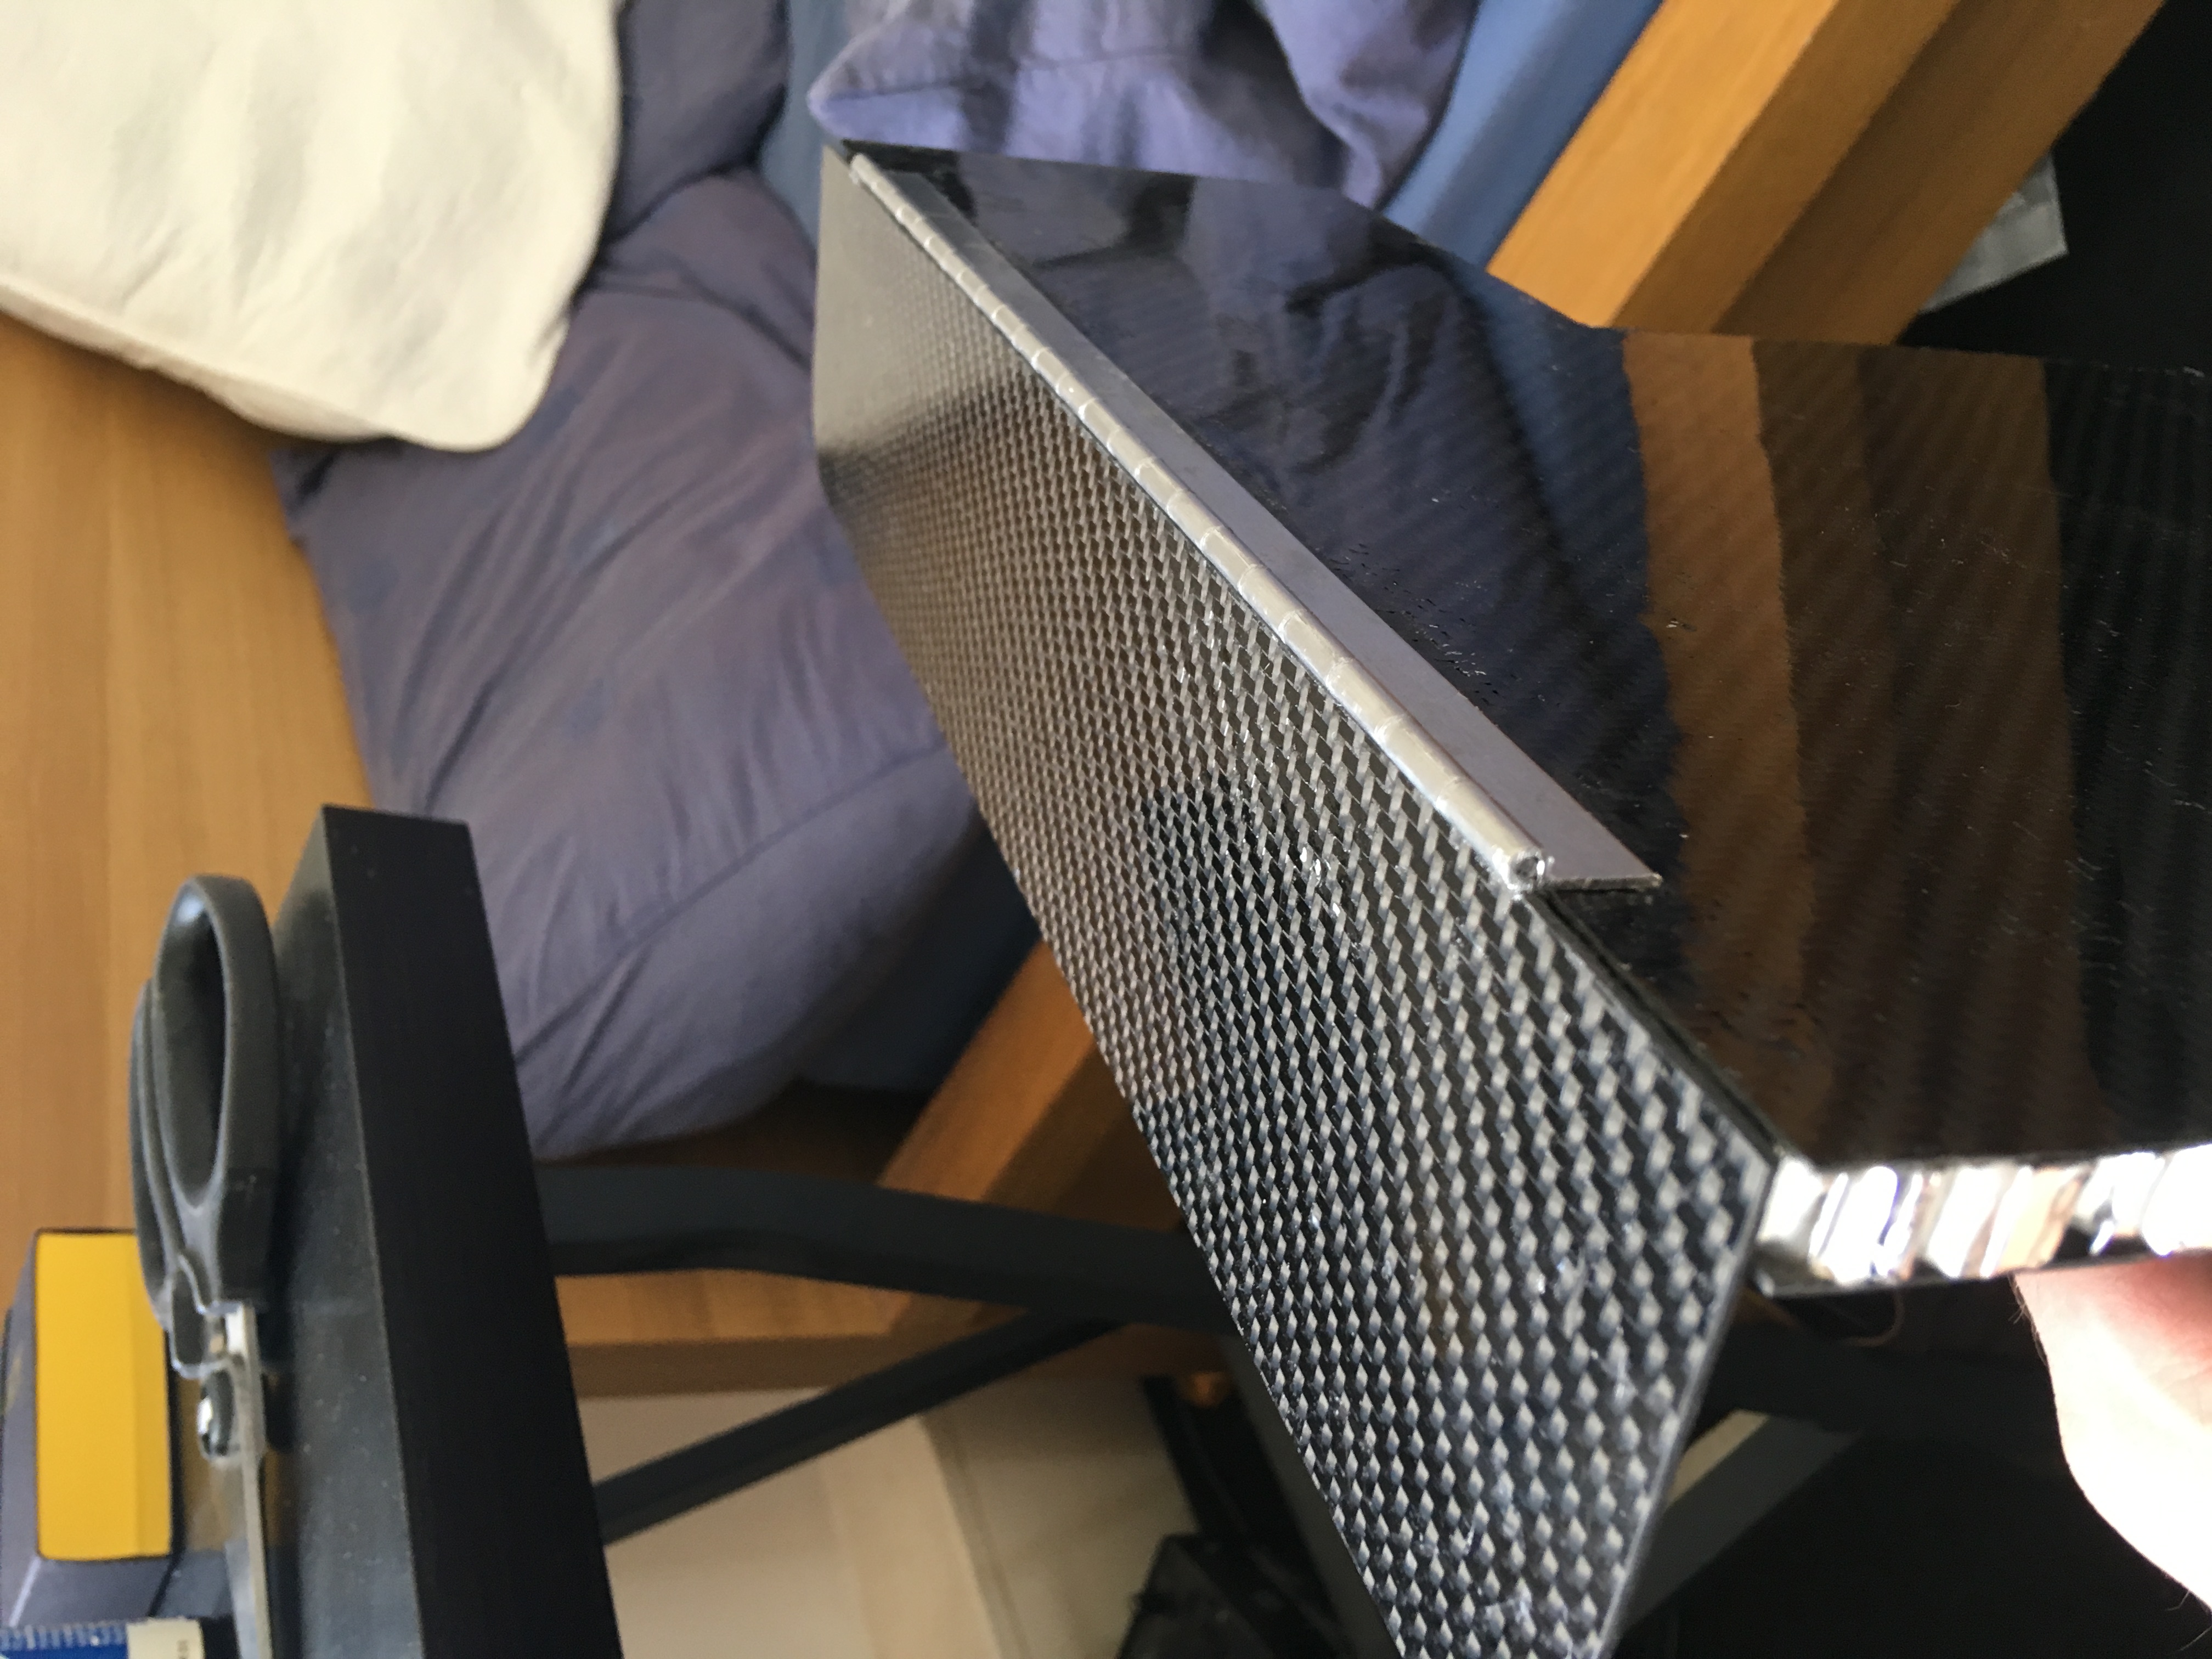
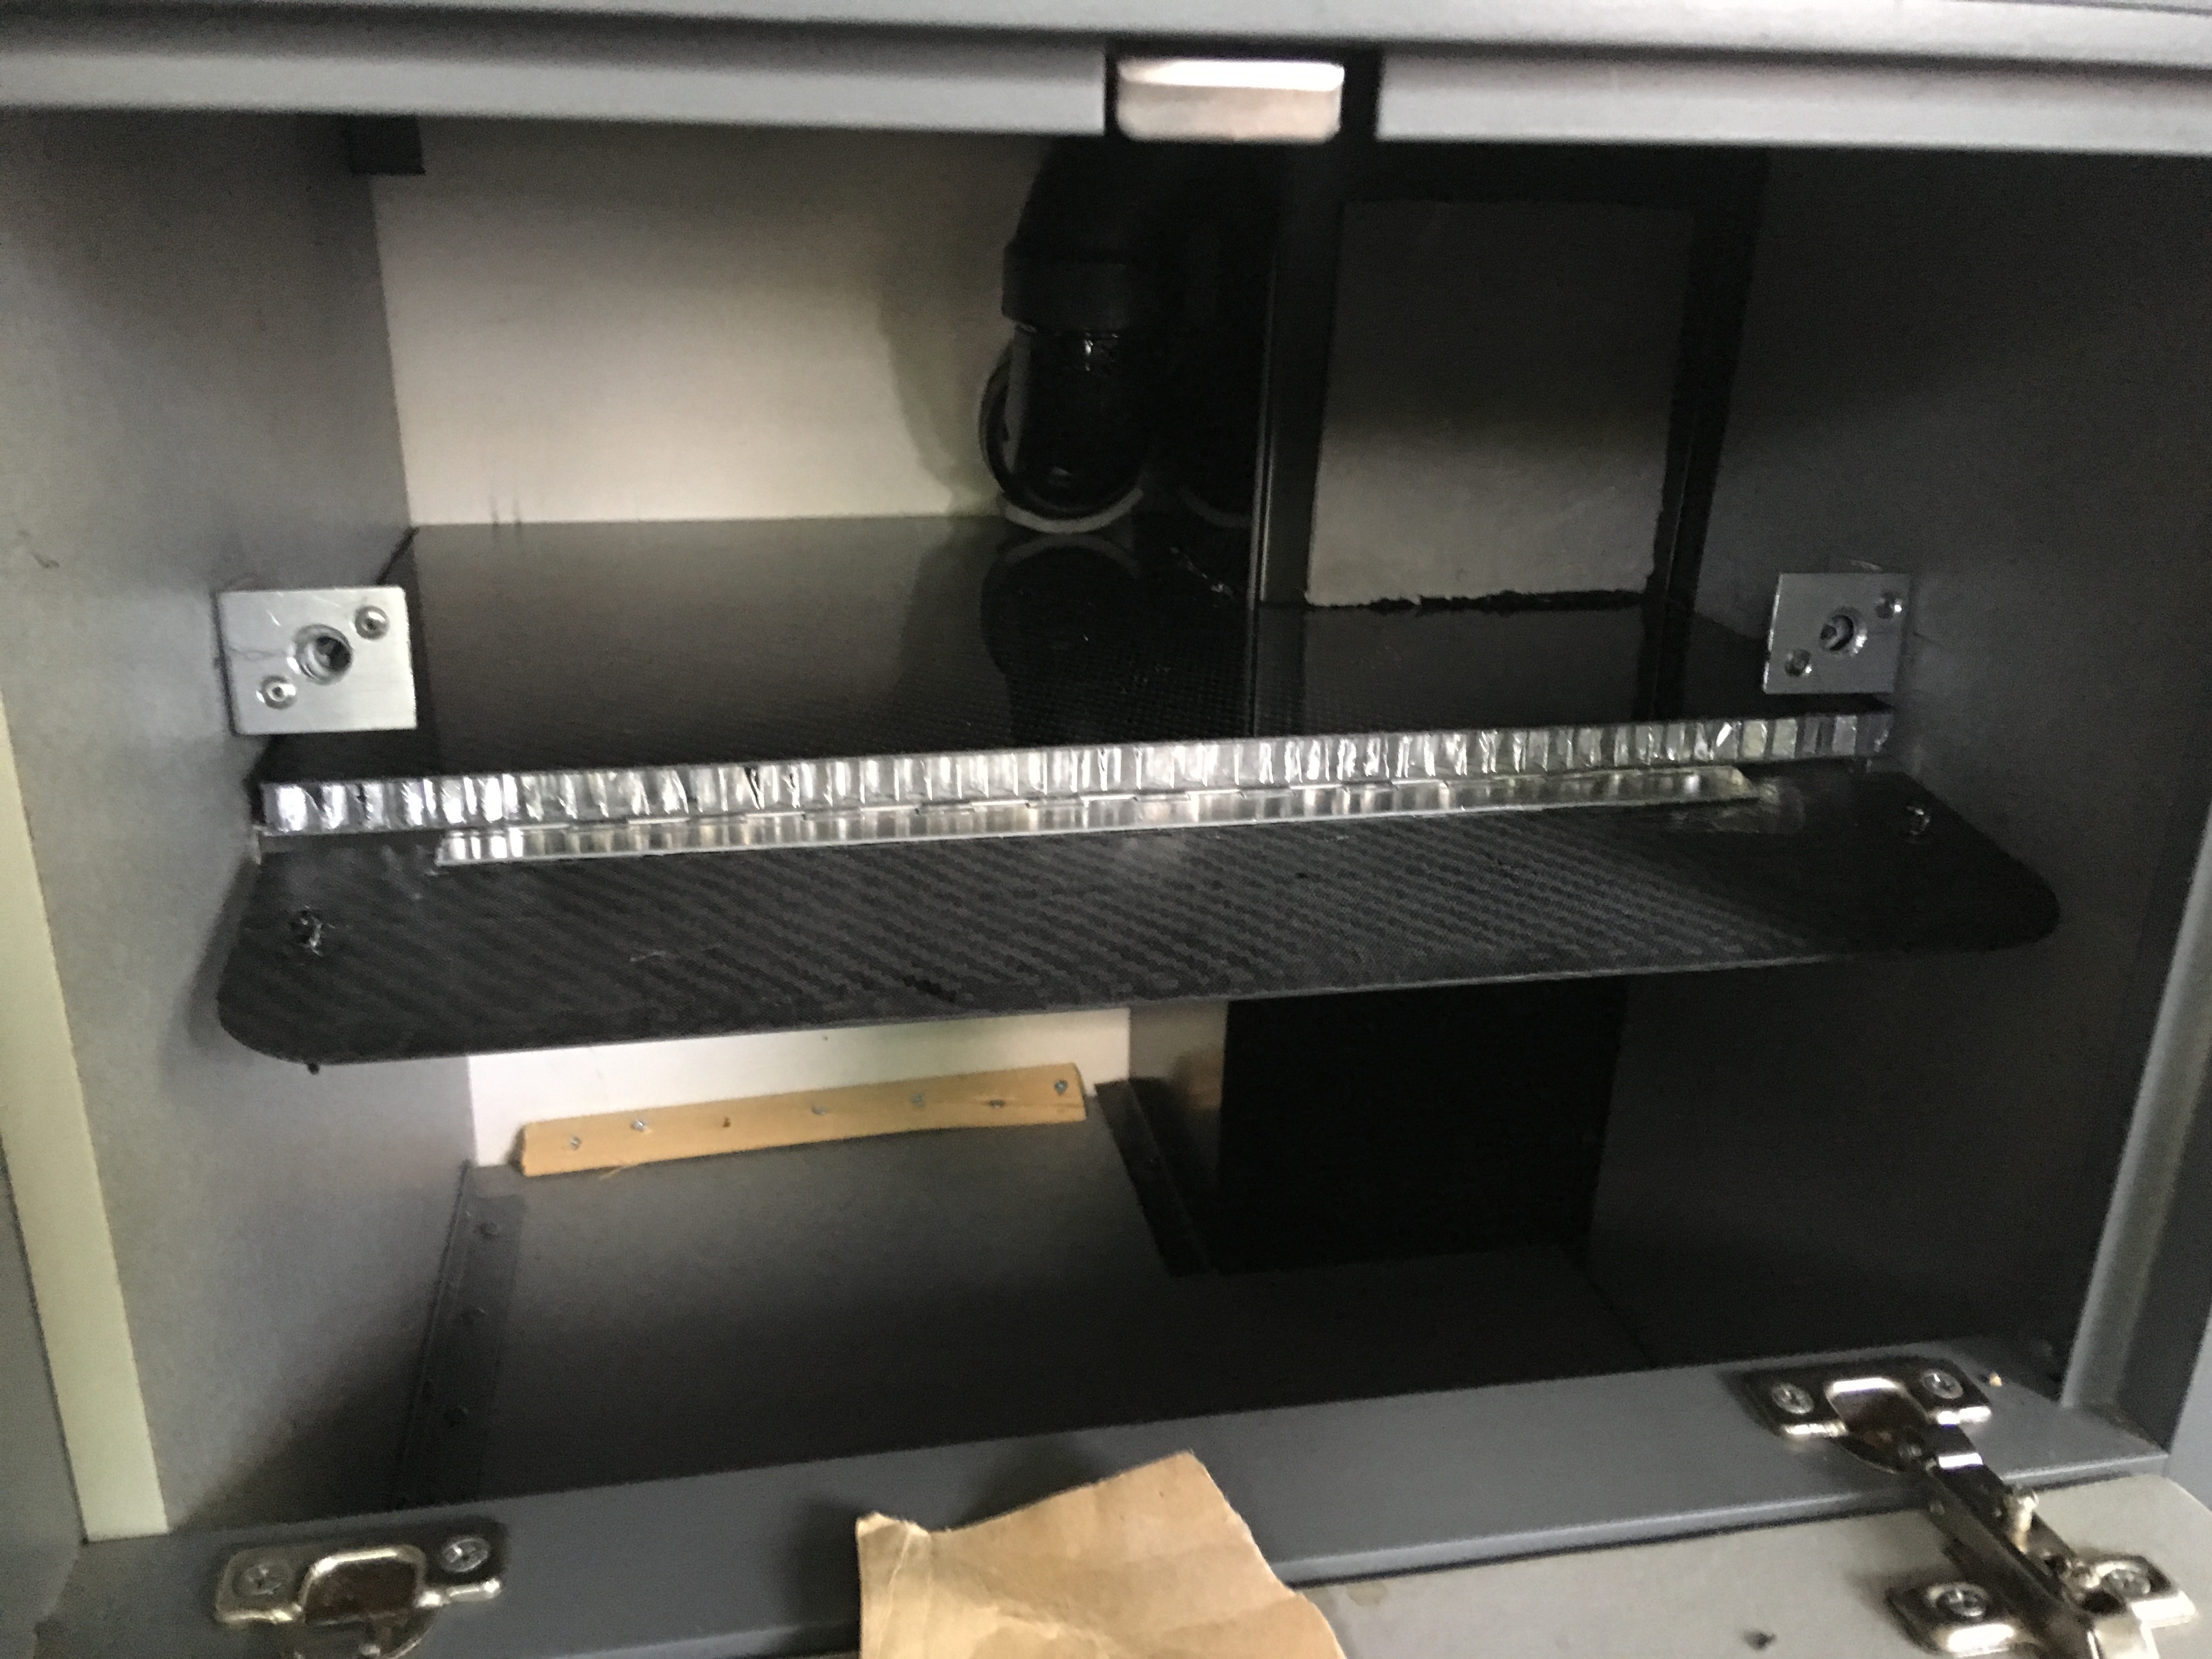
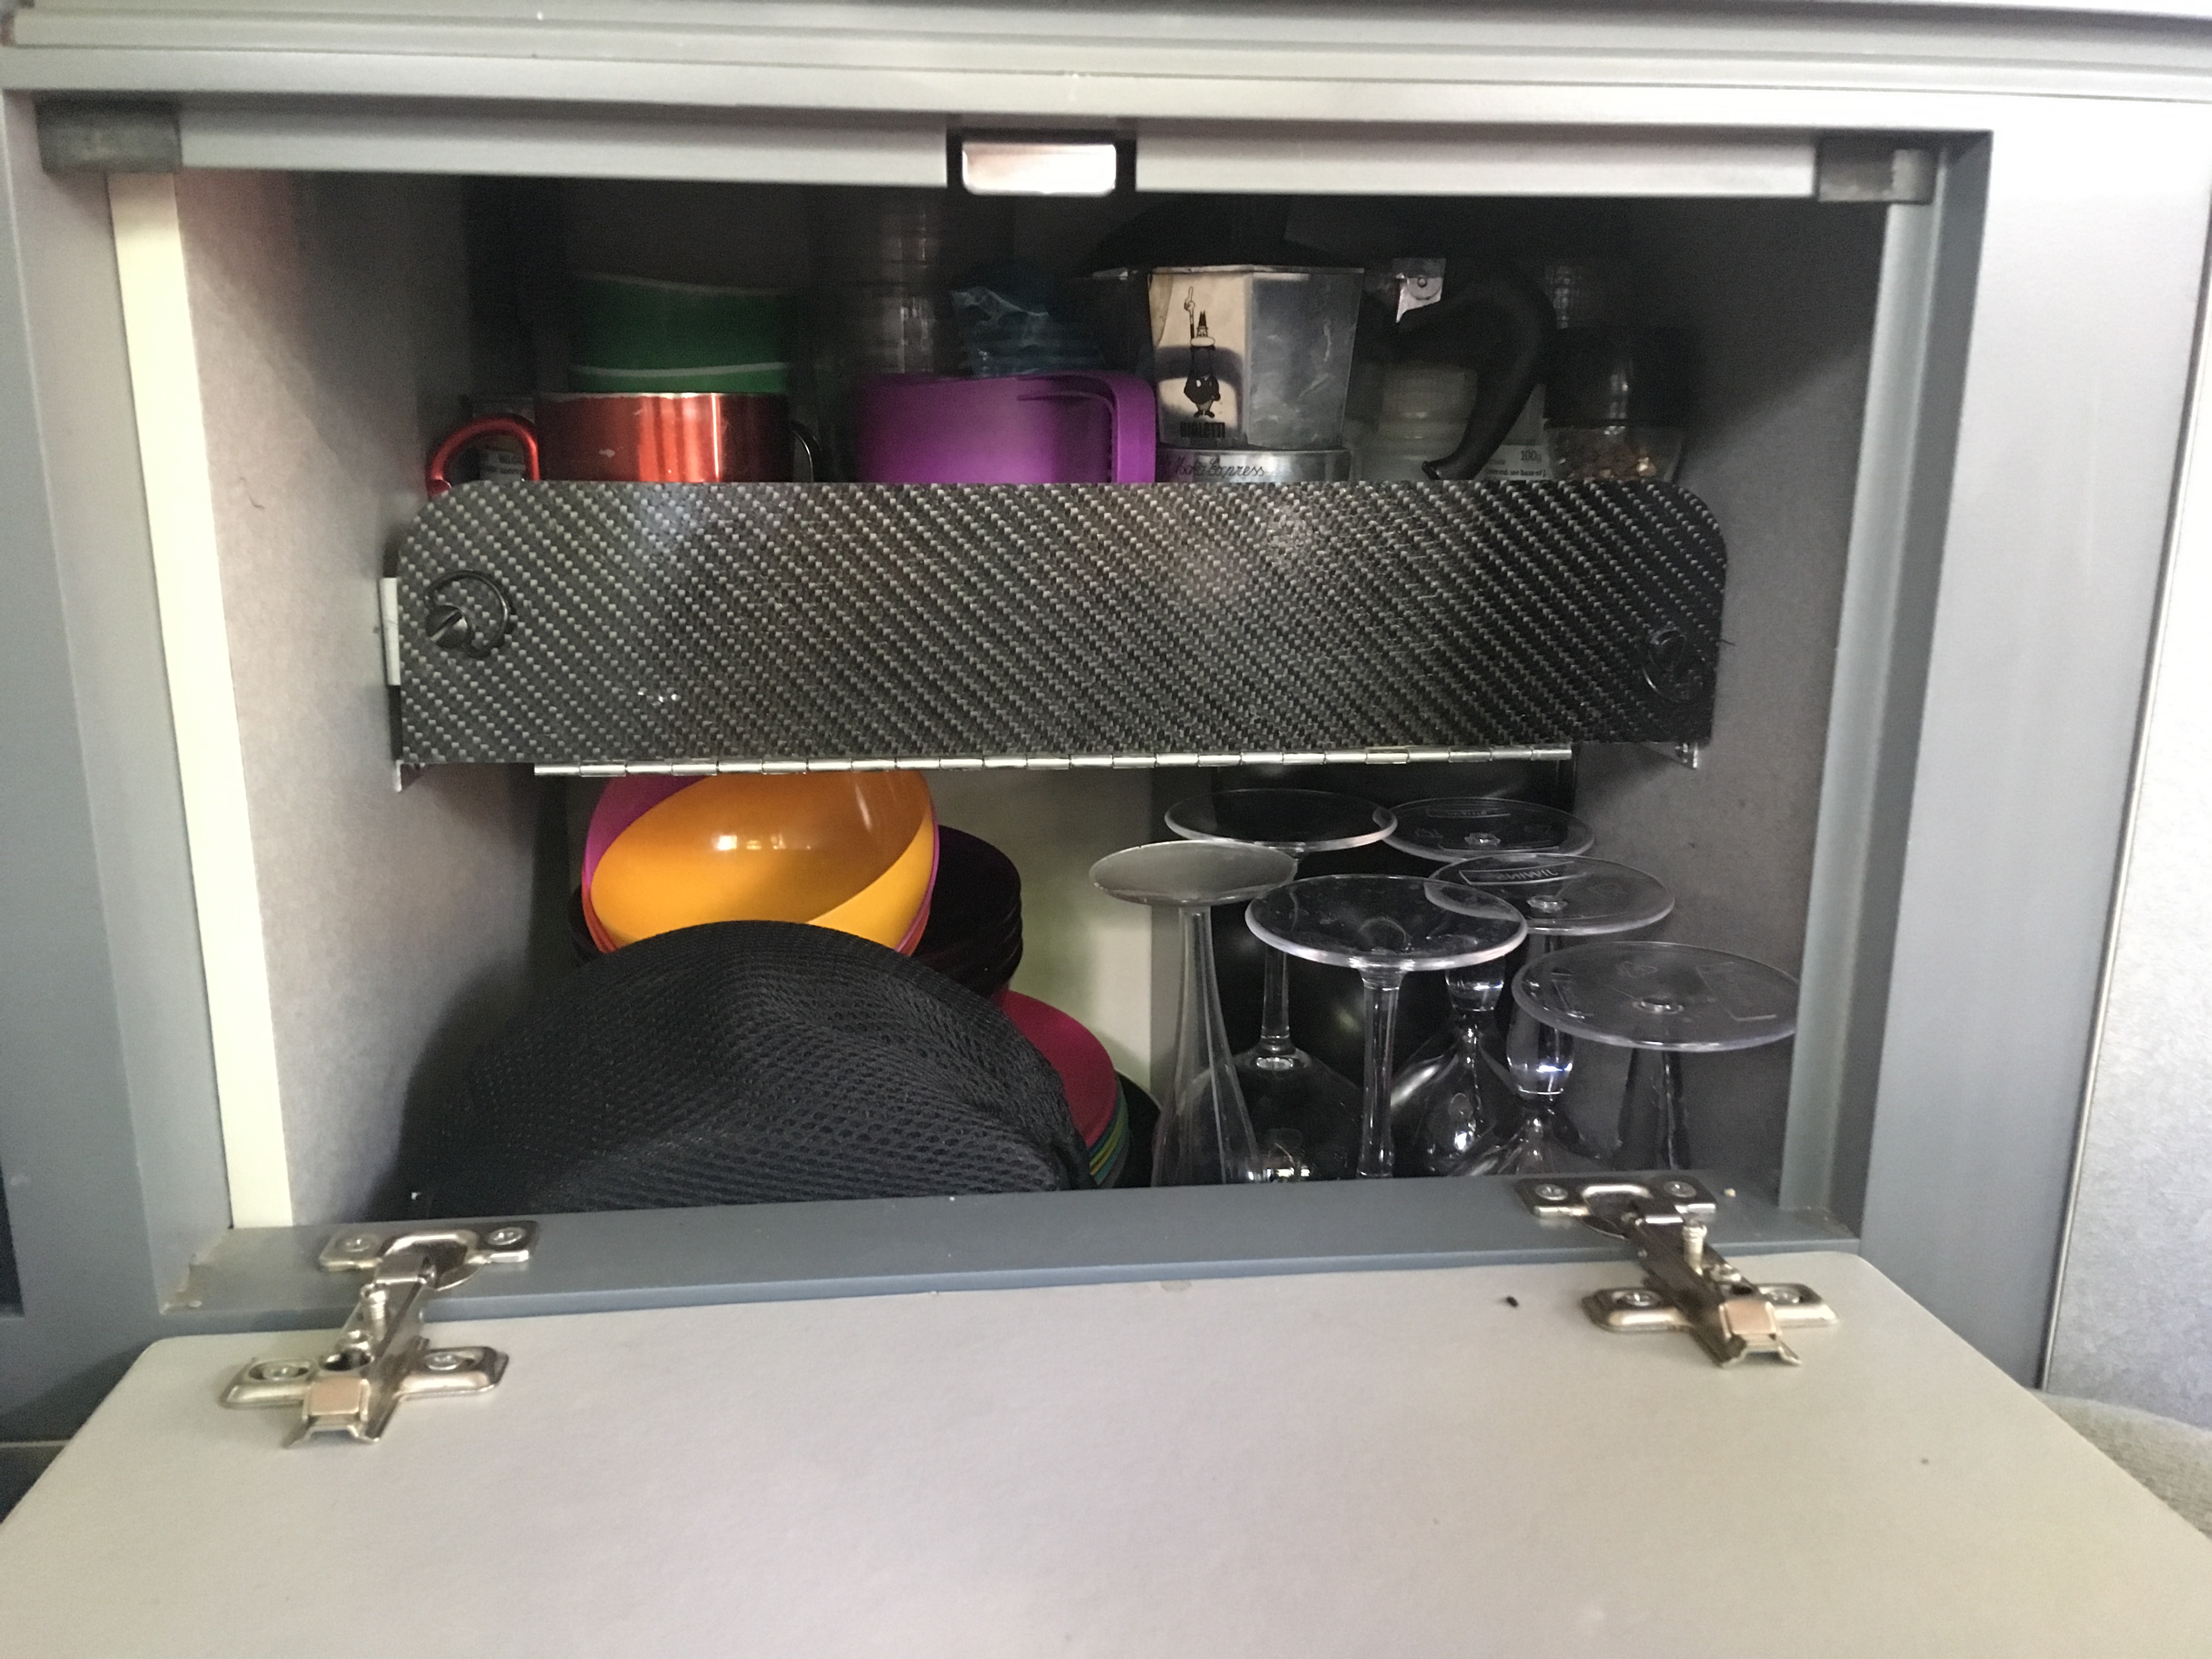
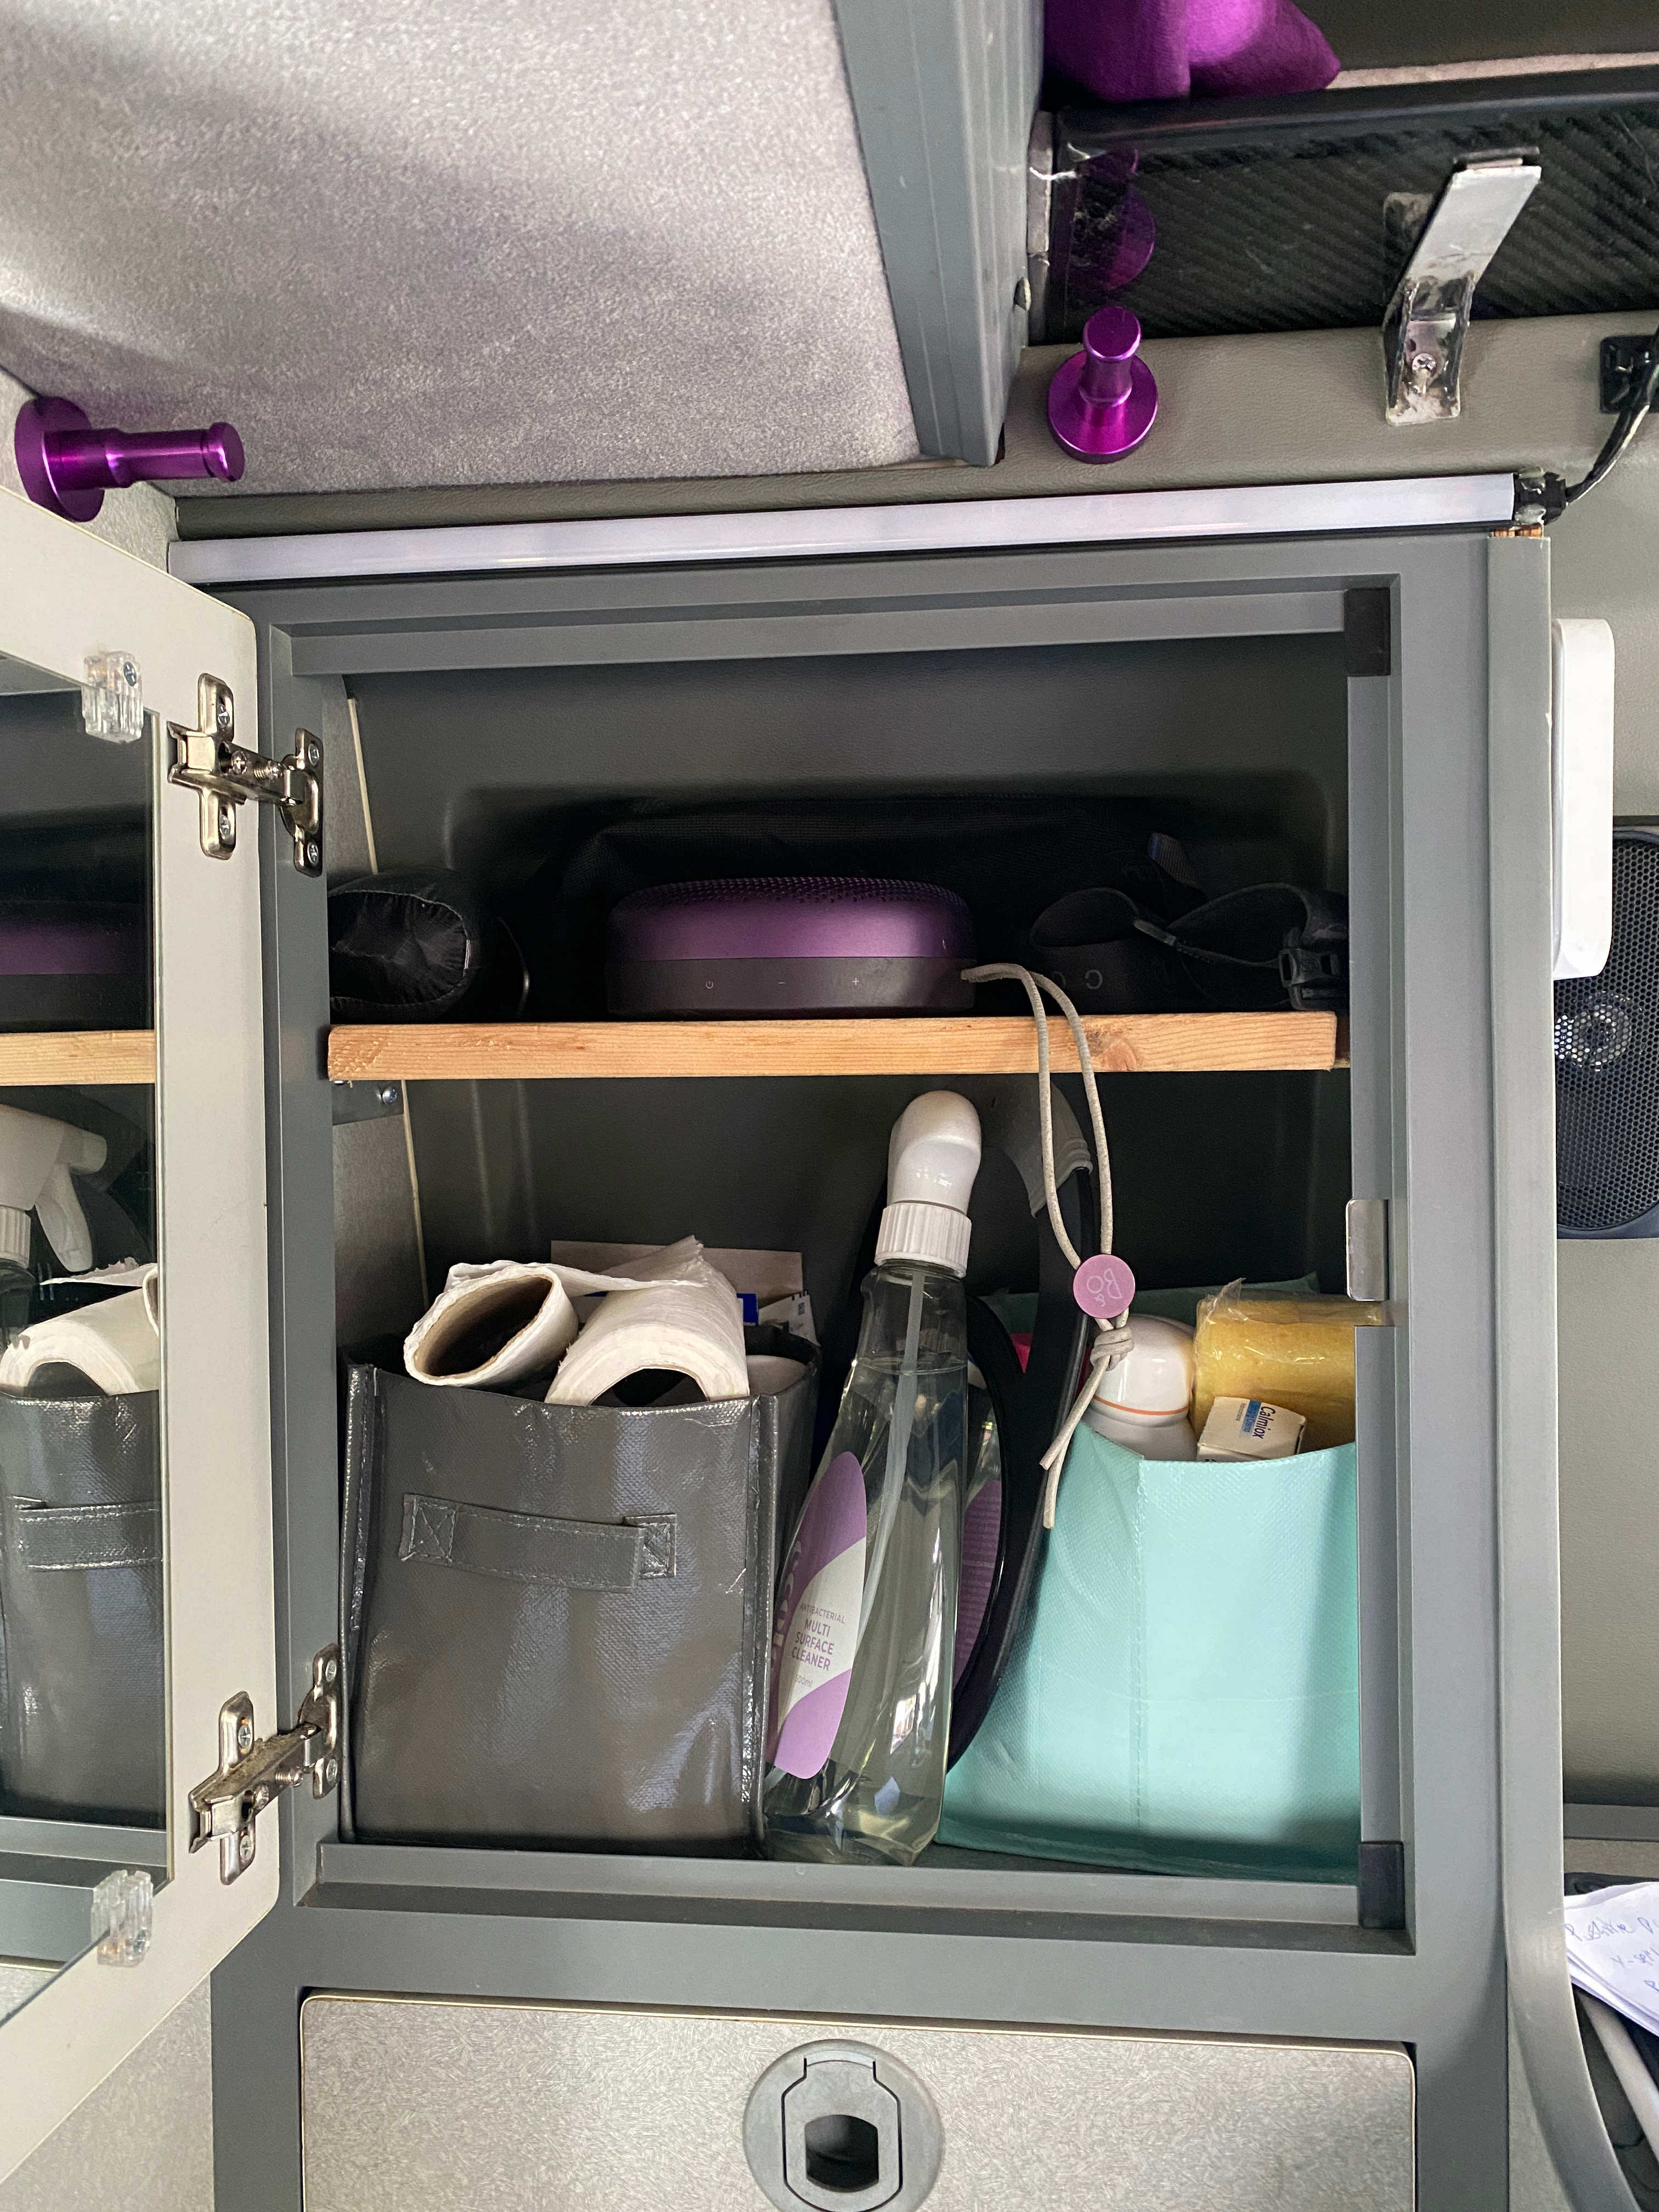
Cupboards
much hated and really not complete. The rear wardrobe has dual sliding doors and a door always seems to be in your way. Wardrobe good for hanging a few small bits only. See build threads
Middle lower cupboard is deep but awkward
middle bathroom cupboard has no shelves.
Front cupboard doesnt open if the bed is down.